

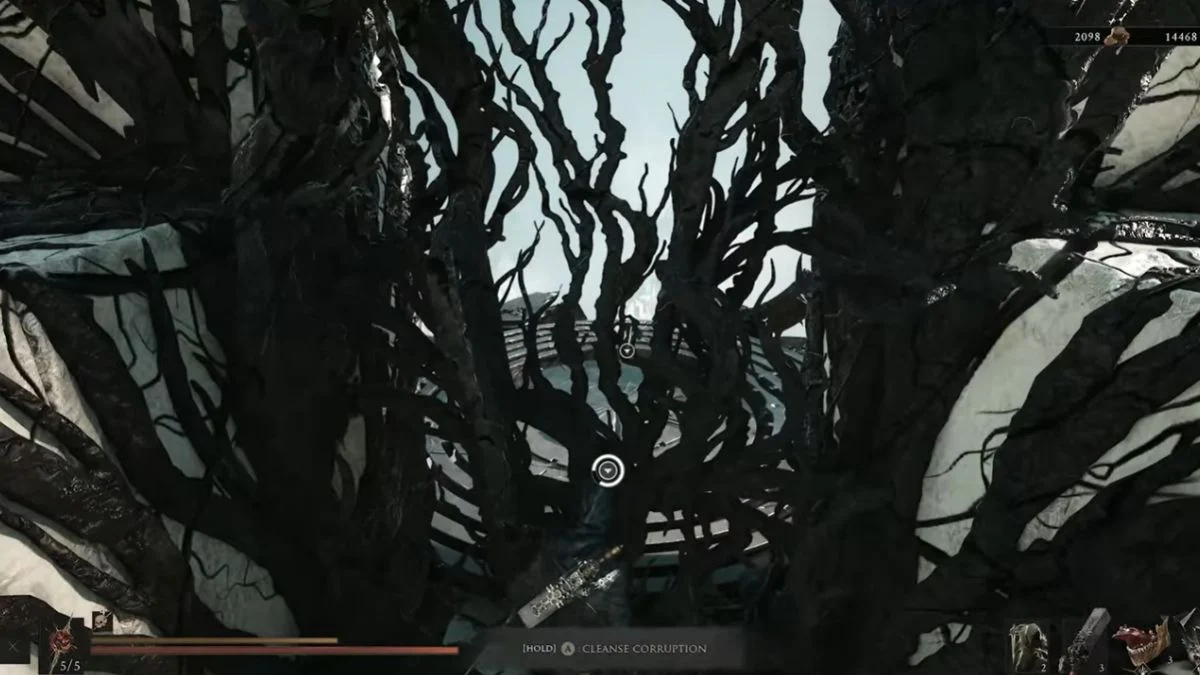
If you’re looking for one of the most flexible weapons in Mortal Shell 2, the Axatana absolutely deserves a spot on your radar. This isn’t a standard melee weapon with one fixed moveset. The Axatana can transform between dual blades and a heavy axe, letting you switch between rapid attacks and slower, harder-hitting strikes depending on what the fight demands.
The weapon becomes available relatively early once you can reach the Mammon region, and the best part is that there is no major story quest or boss requirement standing between you and the pickup. The real challenge is navigation. You need to work your way through the interconnected Bone Gates and teleporter sections until you reach the correct destination in the Forgotten Tower.
Once you’re there, you’ll still have to cross the tower, open a metal gate using a nearby mechanism, and deal with an elite enemy guarding the weapon room. You don’t actually have to defeat that enemy, though. If you’re confident enough to dash in, grab the Axatana, and get out, the game gives you that option.
More Mortal Shell 2 Coverage: Once you’ve got a weapon this versatile, the next question is finding the right form to pair it with, and our Shells guide ranks every option from top to bottom. For the full breakdown, check out our Mortal Shell 2 Shells Tier List: Best Shells Ranked From S-Tier to B-Tier.
The Axatana is hiding in the Forgotten Tower
The Axatana is located inside the Forgotten Tower, in the southeastern portion of the map around the Ruins of Mammon / Vestige of Infinity area.

The most straightforward route starts at the Castigator’s Keep Beacon. From there, you’ll descend the stairs, follow a catwalk, pass through Bone Gates and connected teleporter areas, and eventually reach a teleporter with two destination choices.
Here’s the one decision you absolutely don’t want to mess up:
Take the RIGHT destination.
That teleports you toward the Forgotten Tower section. From there, cross to the opposite side of the tower, find the metal gate, activate the nearby mechanism, and enter the room containing the Axatana.
Axatana location at a glance
Castigator’s Keep Beacon
↓
Descend the stairs
↓
Follow the walkway/catwalk
↓
First Bone Gate
↓
Continue through the teleporter sections
↓
Two-destination teleporter
↓
Choose RIGHT
↓
Forgotten Tower
↓
Cross to the opposite side
↓
Open the metal gate
↓
Elite enemy
↓
Collect the Axatana
The important thing is that reaching the Forgotten Tower doesn’t immediately put the weapon in your hands. The tower itself is the final navigation section, so keep moving until you reach the opposite side and locate the metal gate.
Elsewhere in the Gaming World: If cryptic routes and hidden endings are your thing, another title on our radar hides its true finale behind a similarly obscure path. Our post on the Big Walk All Endings Guide: How to Unlock the True Ending, White Key, and Big Game Achievement walks through exactly how to find it.
Do you need a quest or boss fight to get the Axatana?
No major quest is required.
Your primary requirement is simply having access to the relevant section of Mammon and being able to reach the Forgotten Tower. You also don’t need to defeat a major boss before collecting the weapon.

There is an elite enemy inside the Axatana’s weapon room, but that enemy is not a boss requirement for obtaining the weapon. You can either defeat it or bypass it, grab the Axatana, and leave.
That makes the weapon a particularly attractive pickup if you’re already exploring the eastern areas of Mammon and want to expand your arsenal without committing to a lengthy questline.
No-Quest Pickups Worth Knowing: Not every reward in Mortal Shell 2 gates you behind a quest chain, and the same is true over in the Forgotten Tower’s earlier neighbor. Our guide to the Mortal Shell 2 Baghead Quest Guide: How to Complete the Nothing Test and Secret Ending covers one of the trickier optional paths in the game.
Want a map for the Axatana?
If you prefer having an in-game reference while exploring, you can purchase a map from Merrick in Marrow Keep.
The map costs 1,100 Coin and marks the Forgotten Tower, giving you a useful reference point for the Axatana’s location.
However, the map is completely optional. You don’t need to buy it to obtain the weapon. If you already know the route, you can head directly toward the Forgotten Tower and collect the Axatana yourself.
How to reach the Axatana from Castigator’s Keep Beacon
The Castigator’s Keep Beacon is the recommended starting point because it places you on the central route toward the Forgotten Tower without forcing you to navigate the more complicated approaches from the outskirts.
1. Start at Castigator’s Keep Beacon
Travel to the Castigator’s Keep Beacon and activate it if you haven’t already.
Having the beacon active gives you a safe respawn point before you start working through the Bone Gate and teleporter sections. It also makes the journey less annoying if you happen to get caught by enemies along the way.
Once you’re ready, look for the stairs beside the beacon.
2. Go down the stairs
Descend the stairs next to the beacon.
You don’t need to wander around the surrounding structures at this point. The intended route begins below the beacon, where you’ll find the walkway leading toward the next section.
At the bottom of the stairs, look for the walkway/catwalk and follow it forward.
3. Follow the catwalk toward the first Bone Gate
Continue along the walkway until you approach the first Bone Gate.
Enemies may be positioned along the route, but you don’t necessarily have to stop and fight everything you encounter. You can clear the enemies if you want a safer path, or simply run past them and keep your attention on the route.
The Bone Gates are important navigation landmarks in this region because they connect different sections through teleportation.
4. Enter the first Bone Gate
Continue forward until you reach the first teleporting Bone Gate.
Walk through it to reach the next section.
Don’t get too excited and assume the Forgotten Tower is immediately ahead. You’re still working through a connected network of areas, and there are additional teleporter sections between this point and the Axatana.
5. Keep moving through the teleporter network
After passing through the first Bone Gate, continue through the connected areas.
You’ll encounter additional enemies and environmental obstacles, but the goal here isn’t to explore every side path. You’re looking for one particular navigation point: a teleporter that presents two possible destinations.
That teleporter is where the route gets serious.
6. Choose the RIGHT destination
When you reach the teleporter with two destination choices, select the:
RIGHT destination.
This is the most important choice on the entire route.
Do not take the left destination if you’re trying to reach the Axatana.
The right-hand destination takes you into the Forgotten Tower section. If you accidentally choose the wrong side, don’t panic. You haven’t permanently lost access to the weapon. Use the teleportation network to return to the two-option teleporter and select the right destination.
7. Enter the Forgotten Tower
After selecting the right destination, you’ll arrive in the Forgotten Tower area.
You’ll notice a change in the environment, but don’t assume you’ve reached the weapon room just yet. The Axatana isn’t sitting beside the teleporter waiting for you.
You need to cross the tower and work your way toward the opposite side.
Follow the available platforms and walkways. Depending on your approach, you may encounter another jump or Bone Gate during this section.
Don’t mistake that section for a dead end. You’re still on the route.
8. Find the metal gate
Keep working your way across the Forgotten Tower until you find a metal gate/door blocking the route.
The Axatana is beyond this gate.
Here’s another important detail: the elite enemy inside the room does not open the gate.
Instead, examine the wall immediately around the entrance. There is a nearby mechanism that opens the gate.
9. Activate the gate mechanism
Search the wall beside the metal gate for the nearby activation mechanism.
Depending on how it is presented, it may appear as a:
- Lever
- Pressure plate
- Wall button or switch
Interact with the mechanism to activate it.
The metal gate will then open.
If the gate isn’t opening, don’t waste time attacking it or assuming you need to defeat the enemy on the other side. Check the wall immediately around the entrance and locate the mechanism.
10. Enter the weapon room
Once the metal gate opens, head inside.
This is the room containing the Axatana.
An elite enemy is present inside and may appear as a Gloom Seeker / Dual Blade Assassin-type enemy. This is the main combat obstacle protecting the weapon, but it isn’t a major boss encounter.
At this point, you’ve got two choices.
Fight the elite
You can defeat the enemy normally if you want to completely clear the room.
This is the safer approach if you plan to explore the room or simply don’t want an aggressive enemy attacking you while you’re trying to collect the weapon.
Bypass the elite
You can also ignore the enemy.
The Axatana isn’t awarded for defeating the elite, so killing it isn’t required for the acquisition. If you’re comfortable taking the risk, move past the enemy, grab the weapon, and escape.
11. Collect the Axatana
Once you’re inside the room, look behind or near the elite enemy.
The Axatana is displayed on a pedestal/niche.
Approach the weapon and interact with it.
Axatana acquired.
There is no additional quest step or NPC interaction required after picking it up. Once you’ve collected it, the weapon is yours.
Farming Guides, Simplified: Optional purchases like Merrick’s map are a nice shortcut, but some collectibles require a lot more legwork than a quick Coin trade. Our piece on How to Get Shiny Pearls in Pokémon Pokopia: Bubbly Basin DLC Farming Guide lays out a farming route of its own.
Why the Axatana is so different
The Axatana’s biggest selling point is its dual-mode moveset.
Instead of forcing you to carry separate weapons for fast and heavy combat, the Axatana gives you access to both approaches through the same weapon.
Bonding Over Boss Rooms: Fighting or bypassing a guardian for loot is one thing, but some games ask you to build a relationship with your toughest companions instead. Our guide to the Beast of Reincarnation Koo Rapport Guide: How to Max Your Bond and Unlock the Closest Companion Trophy covers that grind in full.
Dual-blade form
In its dual-blade form, the Axatana becomes a pair of fast blades.
This form emphasizes:
- Speed
- Rapid attacks
- Mobility
- Quick damage
- Maintaining pressure on enemies
It’s especially useful when you want to stay aggressive and keep an enemy under constant pressure.
The blades let you attack quickly and maintain momentum rather than waiting around for slow, heavy swings.
Axe form
The Axatana can also transform into a heavy axe.
The axe attacks are slower and more deliberate, but they provide the heavier impact you’d expect from an axe.
This form is useful when you want:
- Higher impact
- Greater stagger potential
- Heavier individual attacks
- A way to punish an enemy after an opening
The two forms give the weapon a very different rhythm from a conventional melee weapon.
Class Flexibility Elsewhere: A weapon that swaps identities mid-fight is a rare find, but some games build that same flexibility into their entire class roster instead. Our rankings in the Mistfall Hunter Class Tier List: Best Classes Ranked for the Launch Meta (All 6 Classes Ranked) break down which picks offer that kind of versatility.
How to use the Axatana’s two forms
A practical way to approach combat with the Axatana is to treat the two forms as different stages of the same attack pattern.
Start with the dual blades.
Use their speed to close the distance, apply pressure, and look for an opening.
Once the enemy becomes vulnerable, switch to the axe and use its heavier attacks to capitalize on that opening and build stagger.
When the enemy recovers or starts moving again, switch back to the blades.
The basic rhythm becomes:
Fast pressure → opening → heavy punishment → fast pressure
That flexibility is what makes the Axatana so appealing if you don’t want to commit completely to either a fast or heavy combat style.
Rhythm Matters in Other Games Too: Timing your transitions well is half the battle with the Axatana, and role choice plays a similar part in squad-based shooters. Our breakdown of the Hell Let Loose: Vietnam Best Roles Guide – Every Class Explained, Best Picks, Beginner Tips & Loadouts (2026) shows how picking the right role changes your whole approach to a fight.
Upgrading the Axatana
Once you’ve collected the weapon, you can upgrade the Axatana at the Tarforge in Marrow Keep.
It follows the standard weapon upgrade system.
Early upgrades require Ventrium, while later upgrades require Laterite. You’ll also need Coin for the upgrades.
If you’re planning to make the Axatana your primary weapon, investing in upgrades is important. The weapon’s versatility is much more useful when its damage continues keeping pace with the enemies you’re facing.
Other ways to reach the Forgotten Tower
The Castigator’s Keep Beacon is the recommended route, but it isn’t the only way to reach the Forgotten Tower.
You can also approach the area through routes originating around the Outskirts of Mammon Beacon and other nearby Bone Gates.
These approaches ultimately connect to the same interconnected teleportation system.
So, if you’re already exploring Mammon and discover another Bone Gate, you don’t necessarily have to backtrack all the way to Castigator’s Keep. The important thing is understanding that the Bone Gates form a network connecting different parts of the region.
Alternate Paths, Alternate Games: Knowing there’s more than one way into a zone can save serious backtracking, and the same logic applies to unlocking new areas elsewhere. Our guide on How to Unlock Bubbly Basin in Pokémon Pokopia – Complete DLC Access Guide (Dive, Entrance Location & Requirements) maps out the routes into that DLC zone.
Axatana route troubleshooting
I reached a teleporter but can’t find the Forgotten Tower
You’re probably at the wrong destination.
Continue through the Bone Gate network until you reach the teleporter offering two destination choices.
Choose the RIGHT destination.
I accidentally took the wrong teleporter
You’re fine.
You haven’t permanently lost access to the Axatana. Return through the teleportation network and find the two-option teleporter again.
This time, choose the right-hand destination.
I reached the Forgotten Tower but can’t find the Axatana
The weapon isn’t located beside the first teleporter.
You need to cross through the tower toward the opposite side.
Look for the metal gate. The weapon room is beyond it.
The metal gate won’t open
Check the wall immediately beside the gate.
You need to locate the nearby lever, pressure mechanism, or button/switch and activate it.
The elite enemy inside the room is not what opens the gate.
Do I have to kill the elite?
No.
The Gloom Seeker / Dual Blade Assassin-type enemy can be defeated if you want to clear the room, but killing it isn’t the objective for collecting the Axatana.
You can bypass it, grab the weapon, and leave.
Do I need to complete a quest first?
No major quest is required.
The main requirement is access to the relevant Mammon area and the ability to reach the Forgotten Tower.
Fixing the Frustrating Stuff: Getting stuck on a route is one kind of headache, but performance issues can be just as disruptive to a run. Our fix list in Mistfall Hunter Stuttering on PC: 15 Fixes That Actually Improve FPS and Reduce Micro-Stutters tackles a different but equally annoying kind of trouble.
Axatana acquisition checklist
Use this as your quick route reference when you’re in-game:
- Reach the Castigator’s Keep Beacon
- Descend the stairs beside the beacon
- Follow the catwalk
- Pass through the first Bone Gate
- Continue through the teleporter sections
- Find the teleporter with two destinations
- Select the RIGHT destination
- Reach the Forgotten Tower
- Cross toward the opposite side
- Find the metal gate
- Activate the nearby wall mechanism
- Enter the weapon room
- Defeat or bypass the elite enemy
- Collect the Axatana
- Return to Marrow Keep if you want to upgrade it at the Tarforge
Mortal Shell 2 Axatana details at a glance
| Detail | Information |
| Weapon | Axatana |
| Type | Dual-mode melee weapon |
| Forms | Dual blades / Heavy axe |
| Location | Forgotten Tower |
| Region | Ruins of Mammon / Vestige of Infinity |
| Recommended starting point | Castigator’s Keep Beacon |
| Critical teleporter choice | Right destination |
| Map seller | Merrick, Marrow Keep |
| Map price | 1,100 Coin |
| Upgrade location | Tarforge, Marrow Keep |
| Early upgrade material | Ventrium |
| Later upgrade material | Laterite |
| Elite guarding the weapon | Gloom Seeker / Dual Blade Assassin-type enemy |
| Major boss required | No |
| Major quest required | No |
| Listed achievements | Lord of War and Dual Wielding |
The Axatana route in one sentence
From the Castigator’s Keep Beacon, descend to the catwalk, pass through the Bone Gates and teleporter sections, choose the RIGHT destination at the two-way teleporter, cross the Forgotten Tower, open the metal gate using the nearby wall mechanism, bypass or defeat the elite enemy, and collect the Axatana from the pedestal/niche inside.
The real trick is remembering the two key navigation points: take the right teleporter and look for the gate mechanism on the wall. Once you’ve got those down, the Axatana becomes a much less mysterious pickup and a seriously versatile addition to your Mortal Shell 2 arsenal.
Checklists for New Players: A tight step-by-step list like this makes any route easier to follow, and total beginners benefit from that same structure across an entire game. Our roundup of Beast of Reincarnation Beginner’s Guide: 25 Essential Tips & Tricks Every New Player Needs to Master the Game offers a broader version of the same idea.
Featured Image Credit: Sofa Supastar Gaming (YouTube) / Cold Symmetry


Leave a Reply