

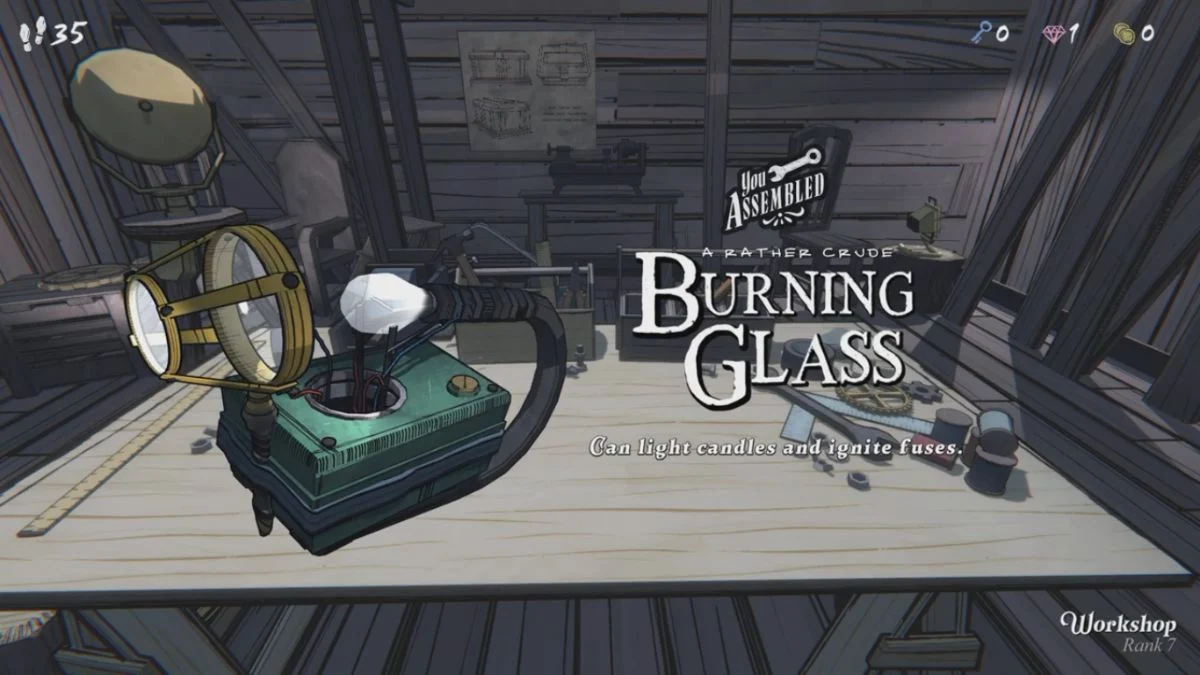
The Burning Glass in Blue Prince feels small in your hand, yet the estate treats it as a key that grants access to hidden rooms, frozen treasures, and buried routes. It turns sunlight into fire and gives you a tool that cuts through secrecy with the simplest spark. Once you craft it, the manor begins to open in subtle but steady ways. Each candle, torch, fuse, and frozen lock you meet becomes part of a path the house hides from those who rush.
This guide shows you exactly how to use the Burning Glass for game progression.
How to Craft the Burning Glass
You create the Burning Glass in the Workshop by combining a Magnifying Glass with a Metal Detector. The workbench accepts both items, and the contraption appears ready to pick up once the two merge. The mome

If you struggle to find the components on the same day, you can store the finished tool in Coat Check so you can keep it for later routes.
How the Burning Glass Works
The item behaves like a focused beam of heat. When you face an interactable surface meant for fire, the prompt appears and the glass does the rest. You do not spend charges. You do not lose it after use. As long as you keep it with you, every flame point remains available.
The estate hides its secrets behind objects that respond to fire. Once the glass rests in your inventory, you gain access to a new layer of exploration that feels more intentional than random.

All Major Burning Glass Uses in the Estate
The Burning Glass ties together several distant corners of the house. These spots appear unrelated at first, but the pattern grows clear once you ignite them. Fire reveals what the estate prefers to cover.

The Tunnel and its concealed blueprint
A stone passage in the cliffs near the fountain contains two unlit torches. Once you set them ablaze, a note appears along with the Tunnel blueprint. Adding this room to your draft pool helps your movement options on future runs.
The Chapel and its hidden donation reward
Two candles stand on either side of the altar. When the flames catch, the altar shifts just enough to reveal a Piggy Bank beneath it. Breaking it returns all coins you have ever donated to the Chapel. Learning this timing early changes how you approach generosity in future days.
The Tomb and its layered secrets
Inside the Tomb sit two pairs of bronze candlesticks. Lighting the first pair uncovers a Diary Key and an Allowance Token. The second pair hides an Upgrade Disk. The Tomb becomes one of the richest rooms in the estate once fire reveals its true structure.
The Freezer and its frozen inventory
The Burning Glass can thaw all frozen items inside the Freezer, even those locked in Herbert’s personal unit. Since the Furnace cannot melt that one, the glass becomes the only way to reach the letter and key preserved inside.
The Trading Post and its buried cache
A bundle of dynamite lies packed against the far wall. Once you ignite the fuse, the blast exposes a secret storage area full of gold, a Trading Post note, and an Upgrade Disk. The room transforms from a merchant stall into an unexpected vault.
The Abandoned Mine and the Orinda sigil room
Lighting the candles in the chamber marked with the Orinda sigil reveals a path that connects the Abandoned Mine to the Precipice. This link saves steps and gives you an alternate escape route during deep runs.
The Apple Orchard sundial marks
The sundial in the orchard carries symbols that react to heat. Igniting the marks activates part of the orchard’s puzzle chain, allowing the microchip sequence to continue.
The underground roundtable beneath the fountain
A hidden room beneath the outdoor fountain contains a circular gathering place surrounded by candles. Once every candle burns, a staircase rises and opens access to a door that leads toward the glass elevator. This path is one of the cleaner routes to late game traversal.
More Trending Game Guides:


Leave a Reply