

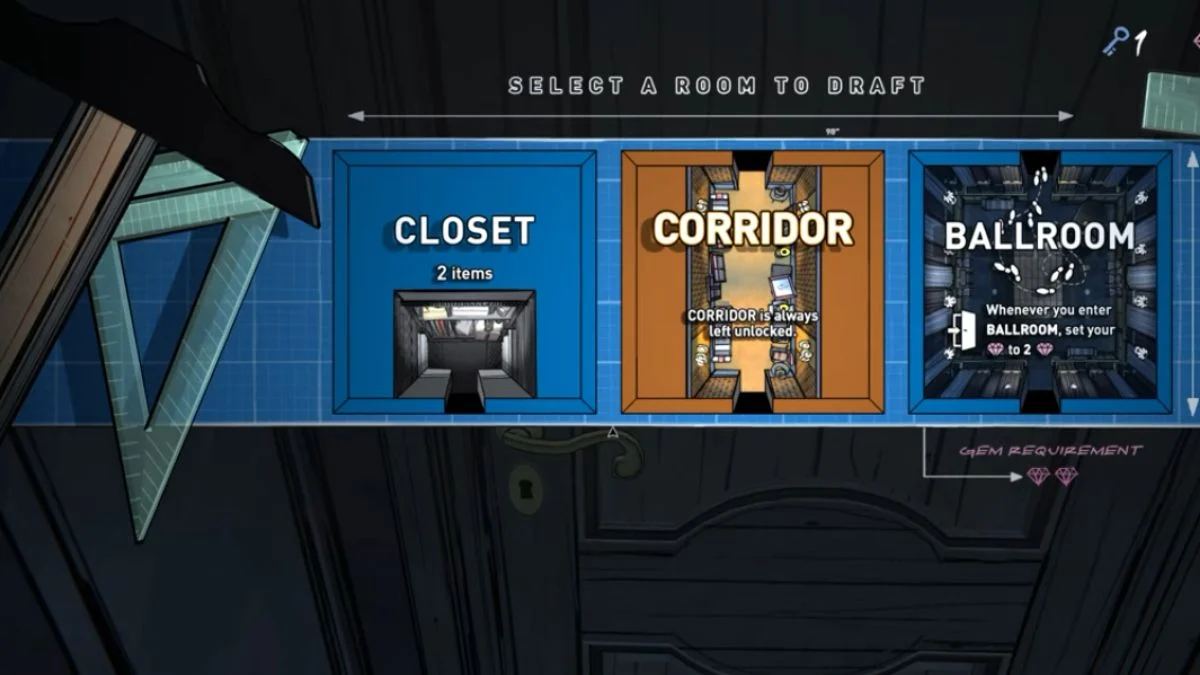
The Ballroom in Blue Prince invites you in with polished mirrors and a hint of fading grandeur, yet its beauty hides a mechanism far more strategic than decorative. At first glance, the room appears simple. It sets your gem count to two when you enter. Nothing more. Nothing less. The trick lies in understanding what that effect truly provides, and how it reshapes your approach to resource control, pathing, and long term planning inside the shifting Estate.
This guide explores the Ballroom with precision, showing how a room that seems restrictive at first becomes one of the most reliable tools for keeping your run alive.
How the Ballroom Works
Entering the Ballroom always sets your gem count to two. The room does not heal, attack, or store anything. It simply overwrites whatever you currently hold. The effect looks harsh if you entered with a pocket full of gems, but it becomes a lifeline the moment your resources disappear.
Since many blueprint rooms require gem payments, the Ballroom turns into a soft anchor point. You can always return to it for a baseline of gems whenever your supply dries up, as long as your step count allows the detour.
Why the Ballroom Is More Useful Than It First Appears
Most rooms in Blue Prince provide one effect and then fade from your strategic mind. The Ballroom refuses to vanish. It is one of the few rooms that grants a renewable resource. Because gems vanish so easily as you climb deeper into the Estate, a fixed restoration point brings a sense of stability to an otherwise unpredictable structure.
The room becomes especially helpful when you string several gem heavy drafts in one run. By deliberately routing yourself back to the Ballroom between major decisions, you keep your economy alive without relying on random drops.
The value of this room grows as the map grows. Long runs benefit most because resource scarcity becomes more punishing the deeper you travel.
When entering the Ballroom hurts more than it helps
The Ballroom can ruin a run if you enter at the wrong moment. You lose any gems above the fixed value of two. Players who carry large savings often stumble into this room out of habit, only to watch half their progress evaporate.
A deliberate approach solves this problem. Treat the Ballroom like a lever, not a corridor. Once you learn to respect its reset effect, you gain full control of both the benefit and the drawback.
Items and Clues Hidden in the Ballroom
Although its main role revolves around gem management, the Ballroom is not empty. You may encounter small but meaningful finds scattered around the space.
Possible discoveries include:
- Coins
- Lucky Rabbit’s Foot
- A Coin Purse
- Occasional steps or keys
These items appear on side tables or near the piano, giving the room small bursts of value during the midgame.
The Ballroom also contains a framed photograph of Simon Sinclair and Lady Clara, along with two pages of Sheet Music. The fragment seems poetic at first and hints at a clock and a midnight moment. Many players tested the timing, only to find the room remains unchanged. The clue appears symbolic rather than mechanical, though its narrative flavor deepens the atmosphere of the Estate.
How to Use the Ballroom in a Long Term Strategy
A successful use of the Ballroom does not come from entering it once. Its strength unfolds when you design a loop around it. If you spend gems while drafting new rooms, you can retreat to the Ballroom to return to two and continue drafting without waiting for luck.
This loop works best when your steps remain plentiful. The room rewards players who route deliberately and punish those who wander.
The Ballroom also pairs well with rooms that require repeated gem payments. Unlocking late game blueprints and expensive utilities becomes far more manageable when you have a persistent gem source behind you.
More Trending Game Guides:


Leave a Reply