

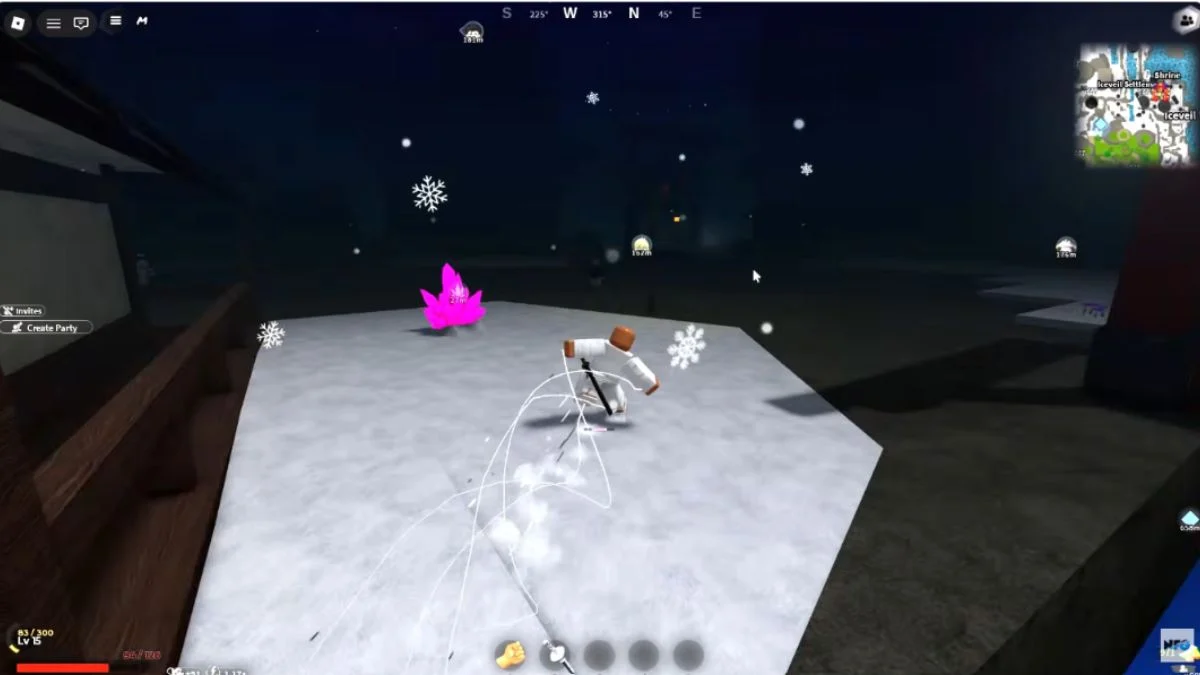
Finding Muzan in Project Slayers 2 is not as simple as running to one marked location and waiting around. Muzan appears at night and patrols within several areas, so treating a landmark as a guaranteed spawn can turn into a huge time sink.
The good news? Once you know how his patrol system works, the hunt becomes much more manageable. You can sweep the known zones, check the surrounding roads and buildings, and server-hop when a server refuses to cooperate. Current community guides also consistently identify -40 Reputation as the important threshold for starting the encounter.
And then comes the real grind: nine Spider Lilies.
This Project Slayers 2 guide breaks down where to find Muzan, how to start his Demon quest, the most efficient Spider Lily farming route, when to server-hop, and what you need before heading into the snow.
Part 1: How to Find Muzan in Project Slayers 2
Before you start sprinting across the map at midnight, get the requirements sorted first.
The most consistently reported requirement is -40 Reputation or lower. Current community guides identify -40 as the threshold associated with Muzan’s encounter and Demon quest progression.
Muzan also appears only at night.
That means daytime is better spent preparing your character rather than running around his patrol zones. Once the night cycle begins, start your search.
What to Have Before Hunting Muzan
For the route in this guide, prepare:
- -40 Reputation or lower
- A reliable way to move around the map
- Wall Climb for the later quest objectives
- A convenient spawn point near your farming route
- Enough time for several night searches or server hops
- Cold protection if you plan to spend significant time in Iceveil Valley
One important detail: Muzan is not a stationary NPC.
The locations below should be treated as patrol areas, not guaranteed coordinates. Current guides likewise describe him as moving around within the relevant zones rather than remaining at one exact point.
So if you arrive at a landmark, look around. Check the roads. Check the buildings. Check different elevations. Then move on.
Once you’ve got Muzan’s patrol routes down, there’s another dark horror puzzle where one wrong choice decides whether a patient survives. For more, follow our walkthrough of Silent Hill: Townfall Zoe: The Patient Guide — How to Save the Patient
All Known Muzan Locations
The three established areas repeatedly reported for Muzan are:
- Mistfall Harbor
- Hidden Mist Village
- Iceveil Valley
Some newer community sources also mention an Oumi/Demon Village search area. Because community information can vary as the game receives updates, the three established zones above remain the core route covered by this guide.
1. Mistfall Harbor
Mistfall Harbor is the first stop to check.
It is relatively close to the starting area, making it a practical opening point for the search. Current guides place Muzan around the open ground near the Ginzo area, while other reports point toward the harbor’s shrine and surrounding roads.
Don’t just run through the entrance and immediately leave.
Use this search pattern:
- Enter Mistfall Harbor.
- Check the open area around the main NPCs.
- Search around the Ginzo area.
- Sweep the nearby roads and ramps.
- Check lower paths and surrounding buildings.
- Move through the area instead of standing at one landmark.
Muzan can patrol away from the obvious landmark, so the goal is to cover the area rather than wait for him to magically walk into your camera.
If the harbor is empty, move on.
If hunting demons at night has you craving a tougher fight, one open-world boss has a blood-soaked reward worth farming for. For more, check out our step-by-step guide on Crimson Desert Bloodwalker Crussis Guide: How to Beat Crussis and Get Bloodstained Blessing
2. Hidden Mist Village
Next up is Hidden Mist Village.
The village sits below the surrounding mist, so you need to descend into the lower area before starting your proper search.
Once you’re down there, focus on the lower wooden walkways and paths between the buildings.
A clean route is:
- Enter the Hidden Mist area.
- Descend into the lower village.
- Check the wooden walkways.
- Search the paths underneath and between buildings.
- Complete a circuit through the village before abandoning the server.
Don’t assume the place where you land is Muzan’s spawn. His movement through the area is exactly why a full sweep works better.
3. Iceveil Valley
If Mistfall Harbor and Hidden Mist Village give you nothing, head into Iceveil Valley, the snowy region.
Current player reports place Muzan around the settlement and nearby paths. Useful landmarks include the first campfire, the area around the settlement, the Clothing Shop, and the nearby Tengai area.
But Iceveil comes with a nasty little problem:
The cold can drain your health.
If you don’t have protection, avoid wandering unnecessarily deep into the snow. Stay near campfires where possible.
The Emberheart Lantern can provide cold protection after being charged at a campfire. Current guides report that the lantern comes from the Yeti encounter in Iceveil Valley, although a single attempt does not guarantee the drop.
So if you’ve already got the lantern, great. If not, don’t turn your Muzan hunt into a battle against the environment.
The Fastest Muzan Search Route
Instead of spending an entire night camping in one location, use this rotation:
Mistfall Harbor → Hidden Mist Village → Iceveil Valley → Server Hop
Start at Mistfall Harbor and completely sweep the area.
Nothing?
Move to Hidden Mist Village and search the lower walkways.
Still nothing?
Go to Iceveil Valley and check the settlement, campfire and surrounding routes.
If all three are empty, server-hop and repeat.
This matters because Muzan’s appearance is tied to the night cycle. A fresh server can be much more useful than sitting around waiting indefinitely, especially when the server’s current timing doesn’t line up with your search.
And remember: a landmark is a search anchor, not a guaranteed spawn coordinate.
How to Start Muzan’s Demon Quest
Once you finally find Muzan and meet the reputation requirement, interact with him rather than attacking him.
Current player-tested guides report that Muzan gives you access to his domain through a Biwa Bell. Use the bell to enter his domain and speak with Muzan again.
That’s where the Demon quest begins.
The quest tracker separates the progression into two major objectives:
- Spider Lilies 0/9
- Deliver Dr. Higoshima 0/1
Your eventual reported reward is Muzan’s Blood.
And this is where the grind begins.
Don’t Farm Spider Lilies Too Early
There’s not much point running around the map collecting flowers before the quest is active.
The current player-tested progression tracks the flowers through the quest counter, so activate Muzan’s quest first and then begin the Spider Lily hunt.
Your target is:
Spider Lilies 9/9
Once that counter is complete, you’re done with the flower portion.
Part 2: The Fastest Spider Lily Farming Route
The nine Spider Lilies are probably where your patience gets tested.
Spider Lilies can appear in multiple positions, so there isn’t one magical spot where you collect all nine. Current community guides repeatedly point toward Bamboo Grove and areas around water as useful places to search.
The flowers can also appear in different colors, including red and blue, while still counting toward the same quest requirement.
So don’t waste time wondering whether you’ve found the “wrong” color.
If it counts toward the tracker, it counts.
Spider Lily Farming Route
Build your route around these reported checks:
- Bridge and nearby water
- Shrine area
- Waterfall
- River island
- Upper plateaus
- Areas around the Wano Gate
- Flower cliff in Hidden Mist Village
- Grass and vegetation around nearby water sources
The point isn’t to memorize one exact flower coordinate.
Instead, you’re creating a spawn-check circuit that lets you cover several possible areas quickly.
Start Around Bamboo Grove and Water
Begin from the central area and work toward Bamboo Grove and its nearby water routes.
Water is one of your best visual landmarks when searching. Check grass and vegetation around rivers and lake systems, especially places where several potential patches can be checked without taking a massive detour.
Don’t expect every location to produce a Spider Lily every run.
You’re maximizing opportunities, not following a guaranteed nine-flower script.
Check the Bridge and River
Move through the bridge and nearby water areas.
Search the surrounding vegetation before continuing along the route.
The trick is to keep moving between checks rather than spending several minutes staring at one empty patch of grass.
Search the River Island
Cross the river and inspect the small island and surrounding grass.
Because this check sits close to other reported locations, it fits naturally into the farming loop.
The faster you can move between possible spawn areas, the less time you waste per attempt.
Climb the Upper Plateau
This is where Wall Climb becomes especially useful.
Some Spider Lily checks involve elevated terrain around the Bamboo Grove route. Instead of taking a long route around the mountain, use Wall Climb to reach the upper sections quickly.
Search the grass and vegetation across the plateau, then drop back down and continue the circuit.
Check the Wano Gate
Add the areas around the Wano Gate to your loop.
Again, you’re not looking for one guaranteed flower. You’re checking another potential spawn region while already moving through the broader route.
Don’t Skip Hidden Mist Village
If the Bamboo Grove circuit doesn’t get you to 9/9, make another pass through Hidden Mist Village.
Current reports identify a flower cliff and nearby elevated terrain as useful Spider Lily checks.
This is also why combining your Muzan and Spider Lily routes can save travel time. You’re already familiar with the village from the Muzan hunt, so you can fold the flower search into the same general movement pattern.
Server Hop for More Spider Lily Opportunities
Found three flowers and then absolutely nothing?
Don’t wander the map for ages hoping the remaining six will suddenly appear.
Server hop and run the route again.
A practical farming loop is:
- Start near your chosen spawn point.
- Head through the Bamboo Grove water route.
- Check the bridge and river.
- Search the river island.
- Climb to the upper terrain.
- Check around the Wano Gate and nearby vegetation.
- Search the Hidden Mist flower area if necessary.
- Return toward your starting point.
- Switch servers.
- Repeat until the tracker reaches 9/9.
Setting your spawn near the farming area can cut down the travel time between attempts.
And yes, this is one of those situations where a little route discipline saves a ridiculous amount of time.
Should You Buy the Muzan and Spider Lily Locator?
There is also a Muzan and Spider Lily Locator game pass reported by current player guides.
The developer description quoted by the community guide says:
“When the Spider Lily flower or Muzan is spawned, it’ll show you a marker with their current positions.”
The pass is currently reported to cost 500 Robux.
However, player testing indicates that it may not mark every Spider Lily, so it should be treated as a convenience feature rather than a requirement.
You can complete the quest without buying it by using the known farming routes and server hopping.
How Many Spider Lilies Do You Need?
The current quest requires:
9 Spider Lilies
Your progress is tracked directly through the quest counter, so you don’t need to manually keep count.
Once you see:
Spider Lilies 9/9
stop farming.
You’re done with that part.
This distinction matters because old Project Slayers information can easily get mixed up with Project Slayers 2. The original game had different progression requirements, while current Project Slayers 2 community guides report the nine-flower requirement for this quest.
So don’t accidentally follow an old Project Slayers Demon guide and assume its requirements still apply.
What Happens After the Spider Lilies?
The flowers aren’t the finish line.
Your next major objective is Dr. Higoshima.
Current player-tested guides place the doctor around elevated terrain near the Thunder Breathing trainer, making movement abilities particularly useful for this portion of the quest.
Once you’ve found him, you need to complete the delivery objective, not simply locate the NPC.
After both major objectives are completed, the reported reward is:
Muzan’s Blood
Drinking the blood begins your character’s Demon transformation and opens the Demon progression systems.
So the entire grind ultimately looks like:
Negative Reputation → Find Muzan → Enter His Domain → Collect 9 Spider Lilies → Deliver Dr. Higoshima → Receive Muzan’s Blood → Begin Demon Transformation
The Best Project Slayers 2 Muzan + Spider Lily Route
If you want to keep the whole process clean, think of it as two separate loops.
Muzan Hunt
Mistfall Harbor → Hidden Mist Village → Iceveil Valley → Server Hop
Repeat until Muzan appears.
Spider Lily Hunt
Bamboo Grove water areas → Bridge/River → River Island → Upper Plateau → Wano Gate → Hidden Mist Village
Then server-hop and repeat until you hit 9/9.
This approach is far more efficient than repeatedly checking one location because Muzan patrols multiple areas and Spider Lilies can appear across multiple spawn checks.
Once your Demon grind is done, here’s how another game hands players their first real combat ability after a punishing boss fight. For more, dive into our full breakdown of Control Resonant The Artist Boss Guide: How to Beat The Artist and Unlock Your First Combat Ability
Project Slayers 2 Muzan Quest Checklist
Before starting the grind, make sure you’ve got:
- -40 Reputation or lower
- Nighttime for the Muzan search
- Muzan’s quest activated
- 9 Spider Lilies
- Wall Climb
- A nearby spawn point
- A server-hopping plan
- Cold protection if you’re spending significant time in Iceveil Valley
Once the Spider Lily counter reaches 9/9, stop searching for flowers and move on to Dr. Higoshima.
The biggest thing to remember is simple:
Muzan’s locations are patrol areas, not fixed coordinates. Spider Lilies are best approached as a repeatable farming route, not a single guaranteed spawn.
Once you understand that distinction, the Demon quest becomes much less of a blind scavenger hunt and much more of a controlled farming run.
Disclaimer
This guide reflects the Project Slayers 2 mechanics and player-tested locations available as of September 27, 2026. Spawn behavior, quest requirements and landmarks may change with future updates, so individual Spider Lily or Muzan locations can shift even when the broader route remains useful.
Featured Image Credit: Roblox / YouTube via NeedForGaming


Leave a Reply