

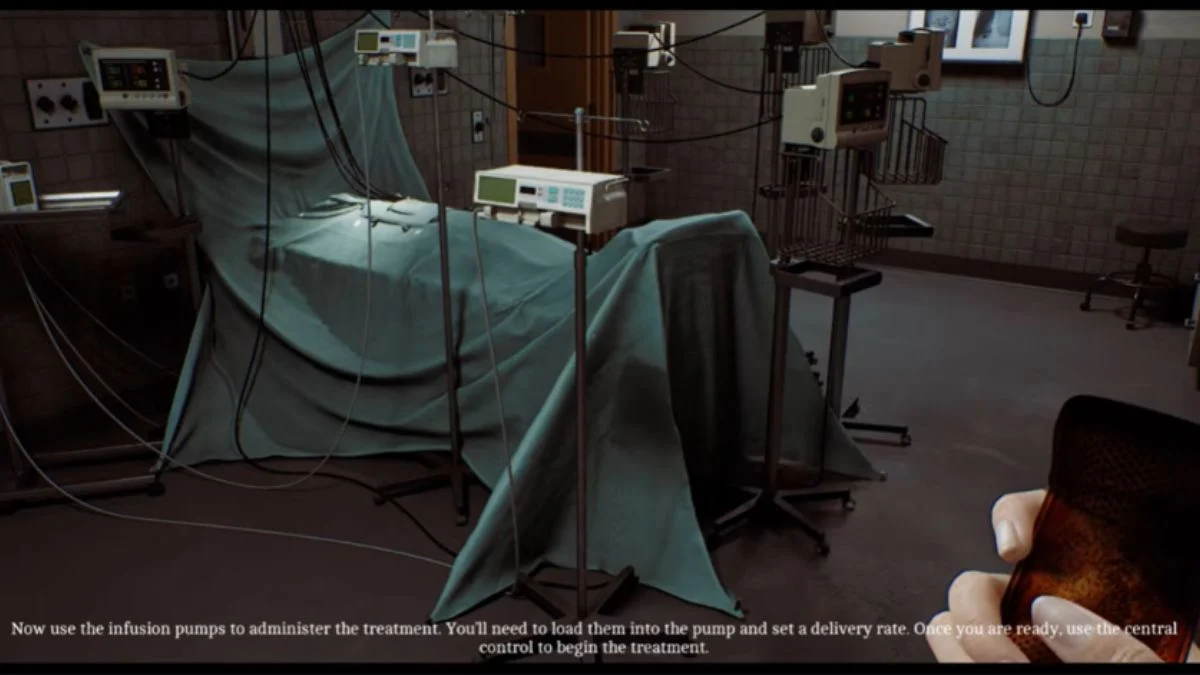
Saving the patient in “Zoe: The Patient” is one of Silent Hill: Townfall’s most involved medical puzzles. What starts with simply checking a few vital signs quickly turns into a full hospital run through St. Amelia Medical Centre, complete with X-rays, locked rooms, medication hunts, infusion calculations, monsters and a final intubation mini-game.
Dr. Glenn is there over the intercom, but don’t expect him to hand you every answer. You’ll need to inspect the equipment around the patient, follow the hospital’s clues, search different rooms and stay alert while creatures patrol the medical centre. Here’s the complete walkthrough for how to save the patient in Silent Hill: Townfall, including every important code, X-ray setting, medicine location and infusion rate.
How to complete “Zoe: The Patient” in Silent Hill: Townfall
The “Zoe: The Patient” mission takes place inside St. Amelia Medical Centre after the “Journey to Medical” mission.
There are five major objectives:
- Read the patient’s vital signs.
- Take the patient’s skull and chest X-rays.
- Find three medicines around the medical centre.
- Administer those medicines using the infusion pumps.
- Find the intubation kit and complete the final procedure.
The opening sections are mainly about solving puzzles and correctly reading the hospital equipment. Once you start collecting medicine and searching for the intubation kit, however, monsters become a much bigger problem. Knowing where they patrol can save you from losing HP while moving between objectives.
Vital signs aren’t the only puzzle demanding careful attention to detail this week. A completely different game hides its own tricky answer inside a lunar-themed riddle. Check our story on The Blood of Dawnwalker Odd Riddle Solution: Choose the Left Hole in The Lunar Game
Read the patient’s vitals correctly
When “Zoe: The Patient” begins, you’ll be in the surgery room with the patient.
Before doing anything else, grab the HP-recovery kit near the sink and take the St. Amelia Medical Centre map from the wall. That map becomes particularly useful once you start moving between different hospital sections.
Next, interact with the intercom beside the sink and speak with Dr. Glenn.
He asks for three readings:
- Blood pressure
- Pulse
- Blood oxygen levels
The room has several machines displaying different numbers, so this part can feel deliberately confusing. The important trick is to follow the coloured cables connected to the patient rather than simply using the nearest monitor.
The supplied puzzle answers are:
| Vital sign | Correct value | Where to find it |
| Blood pressure | 70 over 40 | Green numbers on the machine near the sink |
| Pulse | 162 | Yellow number on the machine near the patient’s left foot |
| Blood oxygen | 80% | Red number on the machine near the patient’s head |
Start with the green cable for the blood-pressure reading. Then follow the yellow cable to locate the pulse and the red cable for blood oxygen.
Be careful here. Reporting an incorrect reading costs HP, so don’t guess the numbers. Follow the cables and use the corresponding machines.
Once all three readings have been correctly reported to Dr. Glenn, the X-ray section begins.
How to solve the X-ray puzzle
Your next job is to take two X-rays:
- Skull
- Chest
The X-ray equipment is behind a locked door. The required code is:
7103
The number can be found on your pager.
Before operating the X-ray machine, interact with the white laptop near the patient. Its power button is tucked into the bottom-right corner, making it surprisingly easy to miss.
Turn the laptop on and open the “X-ray dosage table.” This gives you the settings required for the two scans.
The X-ray settings aren’t the only code-locked room giving Townfall players trouble. Our earlier guide breaks down a separate pharmacy locker combination you’ll likely need along the way. Read our story on Silent Hill: Townfall Pharmacy Locker Code: How to Find the 6539 Combination
Skull X-ray settings
Use the computer beside the X-ray machine to control the camera.
Move the camera until the four white squares fit inside the boxes around the patient’s head. The alignment needs to be correct before the machine will produce the required image.
Set the machine to:
- Site: Skull
- kV: 3
- mA: 7
- Time: 1 second
Turn on the X-ray machine and press the green button.
Chest X-ray settings
Now repeat the process for the chest.
Move the camera until the four markers line up correctly around the patient’s chest, then change the settings to:
- Site: Chest
- kV: 7
- mA: 3
- Time: 1.2 seconds
Take the second X-ray.
Once you have both images, return to the patient’s room and place the skull and chest X-rays on the whiteboard. This completes the X-ray section.
Want a closer look at the exact X-ray code and camera settings without digging back through this walkthrough? We’ve laid out that whole puzzle on its own. Check out Silent Hill: Townfall X-Ray Puzzle Guide: 7103 Code, Skull and Chest Scan Settings
Find all three medicines
This is where “Zoe: The Patient” stops feeling like a straightforward hospital puzzle and starts throwing more danger at you.
You need three medicines from different parts of St. Amelia Medical Centre:
- Tensobromide 11mg
- Dextracyclate 2.5mg
- Hydroxalene 3mg
Monsters are roaming the hospital, so don’t sprint blindly into every corridor. Check their positions before entering rooms and use the environment to your advantage.
Pharmacy Store — Tensobromide 11mg
Leave the surgery room and turn left.
The Pharmacy Store is along this route, but a monster patrols the hallway. You can use the window to watch its movement.
Wait until the monster moves away from the door, then enter the Pharmacy Store.
Inside, collect:
Tensobromide 11mg
Once you have it, leave and continue toward the upper floor.
Bay 6 — Dextracyclate 2.5mg
Head upstairs and travel to Bay 6 in the northeast section of the medical centre.
The medicine is located next to the bed.
There is also a monster nearby, so check the area before moving in to grab the item.
Collect:
Dextracyclate 2.5mg
While you’re upstairs, don’t immediately leave. Check the office in the northwest area.
Inside, you’ll find a sticky note containing the code needed for the Records Room.
You’ll need it for the next medicine.
Records Room — Hydroxalene 3mg
Return to the ground floor and head toward the Chapman Ward in the western section of the hospital.
Another monster can be encountered along this route, so keep your guard up.
The Records Room is locked behind a keypad.
Enter:
2605
Once the door opens, enter the room and search the closet for the final medicine:
Hydroxalene 3mg
With all three medicines collected, it’s time to return to surgery.
How to administer the medicines
Back in the surgery room, Dr. Glenn tells you to “use the infusion pumps to administer the treatment.”
There are three infusion pumps attached to the patient. Place one medicine into each pump.
The order does not matter, so you can distribute the three medicines between the pumps in whichever order you want.
The tricky part is entering the correct infusion rate.
Look at the whiteboard in the surgery room.
The patient weighs:
88 kg
That puts the patient into the 81–90 kg category on the medication dosage table available through the laptop.
For an 88 kg patient, use these rates:
| Medicine | Infusion rate |
| Tensobromide 11mg | 8 |
| Dextracyclate 2.5mg | 15 |
| Hydroxalene 3mg | 7 |
For each pump, interact with it and select “set rate.”
Enter the correct number, then select “ready pump.”
Repeat this for all three medicines:
- Tensobromide 11mg → 8
- Dextracyclate 2.5mg → 15
- Hydroxalene 3mg → 7
Once every infusion pump is ready, interact with the small square device to the left of the patient’s head and press “ready.”
The treatment will then begin and push you into the final stage.
Current walkthrough references likewise place the three medicines at Tensobromide, Dextracyclate and Hydroxalene, with the 88 kg dosage category producing rates of 8, 15 and 7 respectively.
Where to find the intubation kit
After the medicine treatment, Dr. Glenn tells you to call:
5353
This gives you access to the basement.
Head to the reception desk and use the phone to dial 5353.
Once access has been granted, go to the elevator and select:
B
You’ll be taken down to the basement.
Your objective is now the storage room, where the intubation kit is waiting.
The monster may still be patrolling the area if you haven’t dealt with it earlier. If you need to create an opening, use the radio in the kitchen to distract the monster before making your move toward the storage room.
Enter the storage room and collect the:
Intubation kit
Then return to the surgery room.
Current walkthrough sources also identify 5353 as the Hospital Storage phone number and place the Medical Intubation Kit in the Victoria Ward basement storage area.
How to complete the intubation mini-game
You’re almost there.
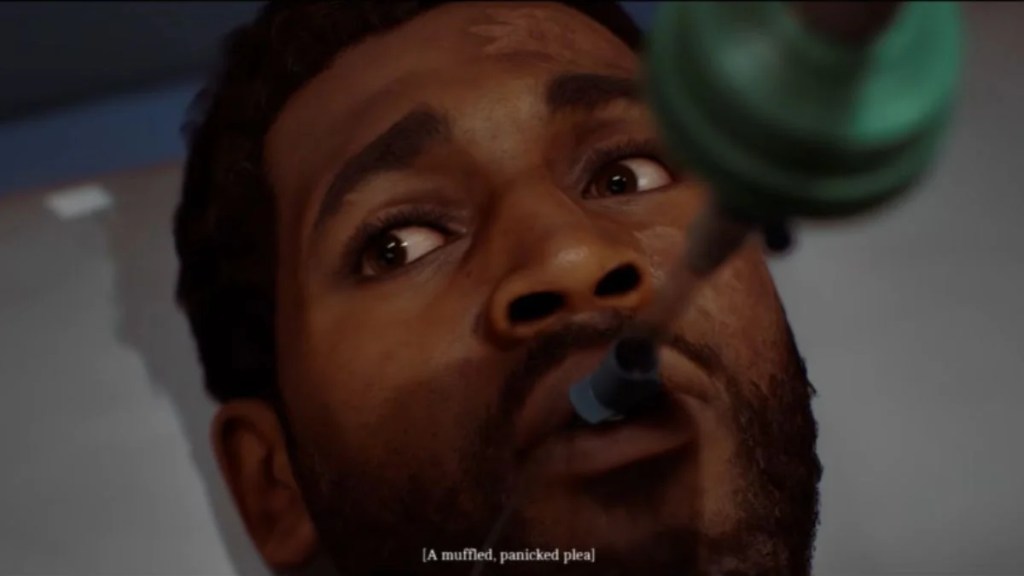
Use the intubation kit on the patient to begin the final mini-game.
A small dot appears on the screen. This represents the point you need to locate around the vein.
Move the cursor around the vein slowly.
You’re looking for the position where the target:
- Turns red
- Starts throbbing
When you find the correct position, hold the interaction button to perform the procedure.
Complete the intubation mini-game and the patient puzzle is finished.
The current walkthrough information also identifies the red-flashing targets and confirms the intubation sequence as right side → lower left → top.
Afterward, a cutscene plays. “Zoe: The Patient” ends, and the next mission, “Many Into One,” begins.
If you’re just getting started with St. Amelia Medical Centre and the wider game, there’s a lot more worth knowing. Our complete guide rounds up everything you need to survive Silent Hill: Townfall from start to finish. For more, read our story on Silent Hill: Townfall Guide: Everything You Need to Know
Silent Hill: Townfall patient puzzle answers — quick reference
If you’re already in the middle of the hospital and just need the numbers without reading the full walkthrough again, keep this list handy:
| Puzzle | Solution |
| Blood pressure | 70/40 |
| Pulse | 162 |
| Blood oxygen | 80% |
| X-ray room code | 7103 |
| Skull X-ray | 3 kV, 7 mA, 1 second |
| Chest X-ray | 7 kV, 3 mA, 1.2 seconds |
| Records Room code | 2605 |
| Patient weight | 88 kg |
| Tensobromide 11mg rate | 8 |
| Dextracyclate 2.5mg rate | 15 |
| Hydroxalene 3mg rate | 7 |
| Basement phone number | 5353 |
The entire sequence is basically Silent Hill: Townfall asking you to keep your head while everything around you gets increasingly unsettling. Follow the coloured cables for the vitals, use 7103 for the X-ray room, line up both scans correctly, track down the three medicines, use the 88 kg dosage category, set the infusion rates correctly, then call 5353 and head into the basement for the intubation kit.
The monsters make the hospital section considerably more tense, but the puzzle itself becomes much easier once you stop guessing and start following the clues the game has placed around St. Amelia Medical Centre.
Disclaimer: This guide is based on the currently available version of Silent Hill: Townfall. Puzzle interactions or solutions could change if the game receives future updates.
Image Credits:
- Featured Image: Konami / Screen Burn Interactive
- Image 2: Konami / Screen Burn Interactive


Leave a Reply