
Celestine is one of those resources in Subnautica 2 that you will not need immediately, but the moment you hit a depth ceiling, it becomes your top priority. It is a mid-game mineral tied directly to unlocking deeper parts of the map, and without it, key progression simply stops.
What Is Celestine in Subnautica 2?
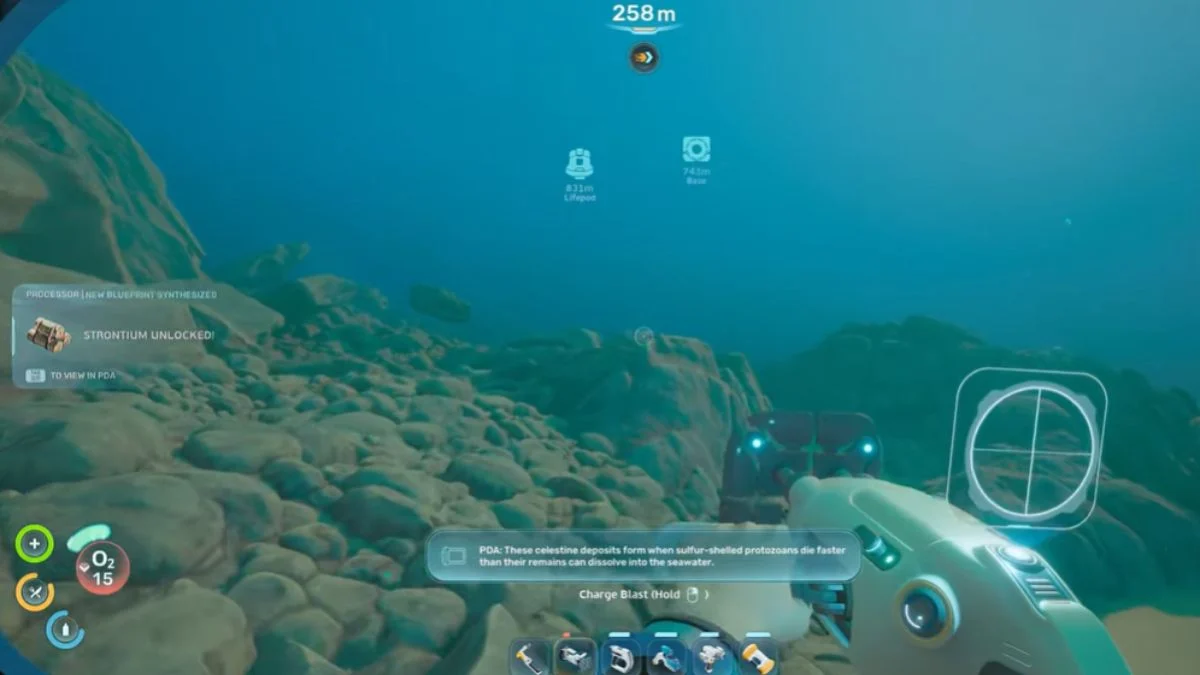
Celestine is a radioactive mineral described in-game as a local source of Strontium that burns brilliant red. In practical terms, it is a crafting material you will need to build the Modification Station, craft the Tadpole Depth Module Mk. 1, and process into Strontium for further upgrades. Without Celestine, you cannot push your Tadpole past its default depth limit, which means large portions of the map stay out of reach.
| Detail | Info |
| Material Type | Raw Mineral |
| Appearance | Small, light-blue jagged crystal clusters |
| Tool Required | Sonic Resonator |
| Recommended Vehicle | Tadpole with Depth Module Mk. 1 |
| Processing | 2x Celestine = 1x Strontium (takes 30 seconds) |
| Yield Per Node | 1 to 3 pieces per deposit |

Where to Find Celestine in Subnautica 2
Celestine spawns in several biomes, but the most accessible and reliable locations are in the Observatory Biome, roughly 1,000 to 1,300 metres east of your starting Lifepod. Before heading there, make sure you have completed the Tadpole Pens mission, as you need to cross a vast and dark stretch of sea to reach the Alien Ruins area where Celestine appears most consistently.
Biomes Where Celestine Spawns
| Biome | Notes |
| Observatory | Primary and most reliable source |
| Graveyard | Available but requires passing through a volcanic, high-temperature area |
| Power Plant | Present but less accessible early on |
| Root Canyon | Found here too, alongside Troilite deposits |
A quick note before you travel: open your character menu and enable all landmark signals before heading out. This makes it far easier to spot the locations referenced below.
Best Farming Spots for Celestine
Spot 1: 1,000 Metres East of Lifepod
The first reliable farming spot sits approximately 1,000 metres east of the starting Lifepod, on a gigantic oceanic plateau at a minimum depth of 200 metres. This is where large clusters of Celestine first appear. However, to get there, you will need to pass through a volcanic section of the Graveyard Biome where water temperatures are significantly higher and the environment is more dangerous. Come fully prepared before making the trip.
Spot 2: 1,300 Metres East of Lifepod
The second spot is further east, at around 1,300 metres from the Lifepod, again at a minimum depth of 200 metres. This area resembles the Alien Ruins zone, with tall protrusions and varied fauna throughout. Celestine deposits appear on both the seabed and on the walls of the surrounding rock formations here.
Best Single Farming Route (Near Alien Ruins)
For the most efficient haul, head to a spot approximately 200 metres southeast of the Alien Ruins base, over the cliff edge, and down to the jagged rocks below. From the Alien Ruins, travel 180 metres northeast, drop to 250 metres depth, and look back toward the rock wall. You will find a Celestine deposit next to a current, which is the first in a long line of deposits running west-northwest along the cliff edge, with an extra deposit on the lower wall. Moving west along the wall, enter the cave you will find along the way to collect two more deposits inside. This single route offers up to seven large Celestine deposits in total.
How to Identify and Harvest Celestine
Many players initially miss Celestine because it looks similar to Quartz at first glance. Celestine appears as clusters of small, light-blue jagged crystals with a distinct neon-blue tint that stands out against the dark ocean rock. Once you know what you are looking for, they become much easier to spot.
To harvest a deposit, you need your Sonic Resonator equipped. Your Survival Multitool will not work on Celestine clusters. Aim at the deposit and activate the resonator to break it open and collect the raw Celestine.
Since the nodes typically sit at around 250 metres and your Tadpole’s default depth limit is also 250 metres, the safest approach is to park your Tadpole at around 225 to 250 metres, exit the vehicle, and swim down to the nodes quickly. This keeps your submarine safe from depth damage while you collect.
Dangers in the Area
| Threat | Location | How to Handle |
| Needlers | Patrolling the cliffside southeast of Alien Ruins | Stay aware of their patrol patterns and avoid lingering near the nest; collect quickly and retreat |
| Collector Leviathan | Between Graveyard and Observatory Biomes | Move quickly through this stretch and avoid drawing its attention |
| High Water Temperature | Volcanic section of the Graveyard | Do not linger; pass through quickly and keep moving east |
How to Use the Scanner Station to Track Celestine
Once you have built a base in the Karakorum region, you can build a Scanner Station inside using the Habitat Builder. The Scanner Station tracks all resources within a 300 metre radius of your base. To use it, simply interact with the station, select Celestine, and a 3D map will appear showing the locations of every nearby deposit. Select a deposit on the map to add a signal for it directly to your HUD, making navigation far more efficient.

What Celestine Is Used For
| Crafting Station | Ingredients | Output |
| Processor | Celestine x2 | Strontium |
| Modification Station | Celestine x3 + Enameled Glass x2 + System Chip x1 | Tadpole Depth Module Mk. 1 |
| Habitat Builder | Celestine x2 + Titanium x2 + Copper Wire x1 | Modification Station |
| Habitat Builder | Celestine x1 + Titanium x1 | Axum Wall Lamp |
The Tadpole Depth Module Mk. 1 is the most important recipe here because it directly removes the depth restriction on your Tadpole and opens up the deeper biomes needed for late-game progression.
Quick Tips Before You Go
- Enable all landmark signals in your character menu before travelling east.
- Celestine can be mistaken for Quartz, so look for the neon-blue tint to distinguish it.
- Park your Tadpole at 225 to 250 metres and swim to nodes below to avoid depth damage.
- Build a Scanner Station at a nearby base to track deposits within 300 metres.
- Watch out for Needlers near the cliffside southeast of the Alien Ruins, as they will fire projectiles if you get too close to their nest.
- Each deposit yields 1 to 3 pieces of Celestine, and processing 2 Celestine gives you 1 Strontium in 30 seconds.


Leave a Reply