

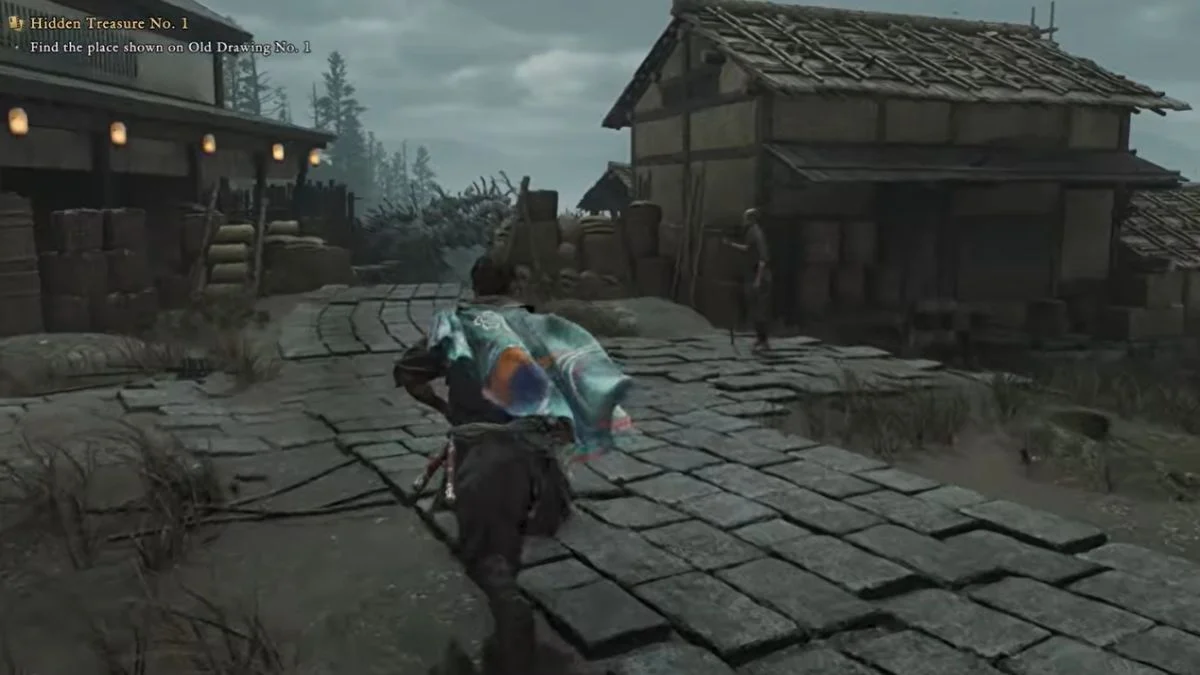
Onimusha: Way of the Sword doesn’t just throw its best secrets directly onto your map. Across Eastern Kyoto, five Hidden Treasure Chance Encounters are waiting to be discovered, and tracking them down is basically a mini treasure hunt.
The catch? Your map marker won’t hand you the exact answer.
Each Hidden Treasure starts with an NPC giving you an Old Drawing. These drawings look more like photographs than traditional drawings and contain visual clues pointing toward the treasure’s general location. The problem is that some of those clues can be seriously tricky to read.
Once the drawing is in your inventory, a marker appears on the map, but it only identifies the general search area. To actually locate the treasure, you need to match the drawing’s landmarks with the environment around you. Rooftops, ladders, waterfalls, gates, temples and pagodas are all important clues.
And when you finally reach the right spot, there’s one more step: activate Oni Eyes to reveal the Hidden Treasure.
Here’s how to find all five Hidden Treasures in Onimusha: Way of the Sword without wandering around Eastern Kyoto forever.
Another Full Collection Hunt: Every location and upgrade requirement for the game’s full set of Charms. For more, check out our guide: Onimusha Way of the Sword: All 15 Charm Locations and How to Fully Upgrade Every Charm.
How Hidden Treasures Work in Onimusha: Way of the Sword
There are five Hidden Treasure Chance Encounters in total.
Every encounter begins when an NPC gives you an Old Drawing. While the item resembles a photograph more than an actual drawing, it provides a visual hint about where you should search.

The map marker that appears afterward is useful, but don’t mistake it for a treasure GPS. It only points toward the general area.
The real challenge is figuring out which landmarks in the Old Drawing correspond to the surrounding world.
Once you’ve identified the correct location, use Oni Eyes. The ability reveals the Hidden Treasure when you’re standing in the right spot.
So the basic loop is:
Get the Old Drawing → check the map marker → identify the landmarks → reach the location → activate Oni Eyes → collect the treasure.
Now let’s get into all five locations.
Another Multi-Step Reward Hunt: A full walkthrough for tracking down a complete legendary armor set through a demanding side quest. For more, check out our guide: The Blood of Dawnwalker: A Bulwark Against Darkness Guide — All Arbiter Armor Locations and How to Get the Legendary Set.
Hidden Treasure #1: Kiyomizu-zaka Slope Rooftop
The first Hidden Treasure is located near the Kiyomizu-zaka Slope Spirit Mirror, and this one can be confusing at first glance.
The key detail in the Old Drawing is an X sitting on top of a nearby rooftop.
Once you reach the Kiyomizu-zaka Slope area, look for an alley containing a long ladder. Climb it to reach the first rooftop.
But you’re not done yet.
Look for a second, smaller ladder that takes you even higher. Climb that ladder and continue until you’re standing on the top of the second roof.
That’s where the treasure is hiding.
Activate Oni Eyes while you’re on the upper rooftop, and the first Hidden Treasure will be revealed.
Every Collectible, Mapped Out: A full location guide for tracking down all eight of one Metal Gear classic’s key items. For more, check out our guide: MGS4 Chaff Grenade Locations: Where to Find All 8 Chaff Grenades in Metal Gear Solid 4.
Quick route to Hidden Treasure #1
- Head to the Kiyomizu-zaka Slope Spirit Mirror.
- Search the nearby alley for the long ladder.
- Climb onto the first rooftop.
- Find and climb the smaller second ladder.
- Reach the upper rooftop.
- Activate Oni Eyes.
- Collect Hidden Treasure #1.
This treasure is a good early reminder that the map marker isn’t the final answer. The Old Drawing’s rooftop clue is what gets you to the actual spot.
Hidden Treasure #2: Waterfall Near Yasaka Pagoda
The second Hidden Treasure is near the Yasaka Pagoda and its Spirit Mirror, and its Old Drawing gives you three major landmarks to work with:
The pagoda, a ladder and a waterfall.
That combination makes this treasure much easier to track down once you know what you’re looking for.
One particularly useful trick here is to zoom in on your map. When you zoom in far enough, ladders become visible, which can help you figure out the correct route.
You can also follow the environment itself.
Start near the Yasaka Pagoda area and follow the nearby stream. Keep following it until it eventually turns into a small waterfall.
Once you reach the bottom of the waterfall, activate Oni Eyes.
That’s where Hidden Treasure #2 appears.
Quick route to Hidden Treasure #2
- Travel toward the Yasaka Pagoda Spirit Mirror.
- Zoom in on the map and look for nearby ladders.
- Follow the nearby stream.
- Continue until the stream becomes a small waterfall.
- Reach the bottom of the waterfall.
- Activate Oni Eyes.
- Collect Hidden Treasure #2.
If the map feels confusing, don’t overthink it. The waterfall is the major environmental clue, while the visible ladders can help you work out the route.
Solving A Tricky Environmental Puzzle: A step-by-step walkthrough for opening both doors and claiming what’s behind them. For more, check out our guide: Resonance: A Plague Tale Legacy Black Temple Door Puzzle Guide: How to Open Both Doors in Chapter 7.
Hidden Treasure #3: The Genma-Infested Temple
The third Hidden Treasure has one of the more deceptive Old Drawing clues.
The image shows an X on a gate beside a tall wall. Several locations around Eastern Kyoto can look somewhat similar, so simply matching the general appearance isn’t enough.

There’s one crucial detail: you need to approach the treasure from inside the wall.
The map marker leads you toward the area around the Kamo River – East Spirit Mirror.
Near the Spirit Mirror is a large temple infested with Genma. That’s the location you’re looking for.
Find the temple’s main door, which is located just east of the Spirit Mirror. Enter the temple grounds and immediately turn right.
You’ll find a large closed door.
Approach that door and activate Oni Eyes.
The third Hidden Treasure will be revealed.
Quick route to Hidden Treasure #3
- Head toward the Kamo River – East Spirit Mirror.
- Find the large nearby temple infested with Genma.
- Enter through the main door east of the Spirit Mirror.
- Immediately turn right.
- Look for the large closed door.
- Approach it from inside the wall.
- Activate Oni Eyes.
- Collect Hidden Treasure #3.
The important part here is the approach. If you’re searching around the outside of the wall and can’t find anything, you’re looking in the wrong position.
A Boss Fight That Breaks The Rules: How to survive one of gaming’s most disorienting encounters. For more, check out our guide: Screaming Mantis Boss Guide: How to Beat MGS4’s Most Mind-Bending Battle.
Hidden Treasure #4: The Balcony Overlooking Eastern Kyoto
Hidden Treasure #4 might be the most annoying one to reach, especially because the area beyond the Gojo Street – East Spirit Mirror is frequently occupied by Genma.
The treasure is hidden in this section of Eastern Kyoto, but the direct route isn’t the answer. You’ll need to take the long southern route around the area.
Your destination is a small shrine-like building in the northeastern part of the area.
When you finally reach it, here’s the important part:
Do not go inside.
Instead, move around to the left side of the building.
You’ll find a small balcony overlooking the rest of Eastern Kyoto. That’s the spot you’re after.
Stand in the correct area and activate Oni Eyes to reveal Hidden Treasure #4.
Quick route to Hidden Treasure #4
- Travel beyond the Gojo Street – East Spirit Mirror.
- Be prepared to deal with Genma.
- Take the long route around the southern side.
- Reach the small shrine-like building in the northeast.
- Do not enter the building.
- Move around to its left side.
- Find the small balcony overlooking Eastern Kyoto.
- Activate Oni Eyes.
- Collect Hidden Treasure #4.
This one is all about recognizing that the building itself isn’t your destination. The balcony beside it is.
Hidden Treasure #5: Yasaka Pagoda Rooftop
The fifth and final Hidden Treasure is arguably the easiest to understand once you’ve become familiar with Eastern Kyoto.
Head straight to the Yasaka Pagoda.
Unlike some of the other treasures, the destination isn’t particularly ambiguous. The important thing is that you need to climb the pagoda itself.
Enter the Yasaka Pagoda and follow the series of ladders inside. Keep climbing until you emerge onto the upper rooftop.
There’s a problem waiting for you up there, though: several Genma are waiting at the top.
Take them out before you start searching.
Once the area is clear, head toward the southern side of the upper level of the pagoda.
Activate Oni Eyes there, and you’ll uncover the fifth and final Hidden Treasure.
Playing A Massive Series In Order: A full breakdown of the timeline and the best sequence to play before the next big entry. For more, check out our guide: Kingdom Hearts Games in Order: The Complete Timeline and Best Play Order Before Kingdom Hearts IV.
Quick route to Hidden Treasure #5
- Go to the Yasaka Pagoda.
- Enter the pagoda.
- Climb the series of ladders inside.
- Continue upward until you reach the upper rooftop.
- Defeat the Genma waiting at the top.
- Search the southern side of the upper level.
- Activate Oni Eyes.
- Collect Hidden Treasure #5.
And that’s all five.
All 5 Hidden Treasure Locations at a Glance
| Hidden Treasure | Area | Main Clue | What to Do |
| #1 | Kiyomizu-zaka Slope | Rooftop | Climb two ladders and use Oni Eyes |
| #2 | Yasaka Pagoda area | Waterfall | Follow the stream to the waterfall and use Oni Eyes |
| #3 | Kamo River area | Gate and tall wall | Enter the temple and inspect the large closed door |
| #4 | Gojo Street area | Small shrine-like building | Reach the balcony on the building’s left side |
| #5 | Yasaka Pagoda | Upper rooftop | Climb the pagoda and use Oni Eyes on the southern side |
Choosing Your Challenge Level: Why two of gaming’s toughest difficulty settings remain some of the most demanding around. For more, check out our guide: MGS4 Difficulty Levels Explained: Why Big Boss Hard and The Boss Extreme Are Still Metal Gear’s Most Terrifying Challenges.
Tips for Finding Every Hidden Treasure
Don’t Treat the Map Marker Like a Treasure GPS
The map marker only narrows down the search area. It doesn’t pinpoint the Hidden Treasure itself.
When you reach the marked zone, stop and compare your surroundings with the Old Drawing.
That’s where the real clue is.
Pay Attention to Landmarks
The Old Drawings might look confusing initially, but recognizable landmarks are your best friends.
Look for things such as:
- Yasaka Pagoda
- Waterfalls
- Ladders
- Gates
- Rooftops
- Large buildings
- Temples
Once you identify the right landmark, the treasure’s location becomes much easier to work out.
A Long Journey, Worth Finishing: The best order to experience an entire horror franchise from start to finish. For more, check out our guide: Five Nights at Freddy’s Games in Chronological Order: The Best Way to Play the FNAF Timeline.
Use Oni Eyes Around the Suspected Spot
If you’ve matched the drawing and reached what looks like the correct location but nothing is appearing, activate Oni Eyes.
The Hidden Treasures are revealed through Oni Eyes, so don’t forget to use the ability once you’ve reached the suspected spot.
Zoom In When Searching for Treasure #2
The map has a particularly useful trick for the second Hidden Treasure.
Zoom in far enough and ladders become visible on the map.
This can help you identify the correct route toward the stream and waterfall near Yasaka Pagoda.
Clear Out Genma When Necessary
Some Hidden Treasure locations are surrounded by Genma, which can make searching the environment considerably more difficult.
If enemies are constantly attacking while you’re trying to compare landmarks or activate Oni Eyes, clear the area first. This is especially useful around the Genma-infested temple for Treasure #3 and the upper rooftop of Yasaka Pagoda for Treasure #5.
Free Rewards Without The Grind: The latest active codes for extra resources, crates and more, all at no cost. For more, check out our guide: Once Human Redeem Codes for August 2026: Active Codes for Free Starchrom, Deviations, Crates and More.
Final Thoughts
The five Hidden Treasures in Onimusha: Way of the Sword are less about blindly following map markers and more about actually reading the environment around you.
The Old Drawings give you the clues, the map markers establish the general search areas, and Oni Eyes ultimately reveal the treasures once you’ve reached the correct locations.
Treasure #1 sends you climbing across rooftops near the Kiyomizu-zaka Slope Spirit Mirror. Treasure #2 takes you to the bottom of a waterfall near Yasaka Pagoda. Treasure #3 leads into a Genma-infested temple near the Kamo River. Treasure #4 is tucked onto a balcony overlooking Eastern Kyoto. And Treasure #5 waits high above the city on the southern side of the upper level of Yasaka Pagoda.
Once you know what each Old Drawing is actually pointing toward, these Chance Encounters become much less frustrating. Instead of searching every corner of Eastern Kyoto, you can follow the landmarks, take the correct route and let Oni Eyes expose the treasure waiting for you.
Featured Image Credit: Capcom / YouTube via SpookyFairy
Image 2 Credit: Capcom / YouTube via SpookyFairy
Image 3 Credit: Capcom / YouTube via SpookyFairy


Leave a Reply