
Slay the Spire 2 introduces Doom as one of the Necrobinder’s signature mechanics, and it works unlike anything else in the game. If you are trying to figure out whether Doom counts as a debuff and how to actually use it, here is everything confirmed so far.
Is Doom a Debuff in Slay the Spire 2?
Yes. Doom counts as a debuff in Slay the Spire 2 because it applies a harmful status effect to enemies. The official keyword definition confirms exactly how it works:
“When a creature’s Doom meets or exceeds its current HP, it will die (triggers at end of their turn).”
Rather than dealing damage directly, Doom places a kill threshold on enemies. Once an enemy’s remaining HP drops to or below the Doom value applied to them, they die instantly at the end of their turn. Because it applies a negative status that persists on enemies and interacts with debuff-based cards and mechanics, Doom qualifies as a debuff within the game’s systems.

How Doom Works
Understanding Doom properly requires separating it from how other damage mechanics function in Slay the Spire 2.
Mechanic | How It Deals Damage |
| Normal Attacks | Reduce enemy HP immediately |
| Poison | Deals damage equal to current stacks at the start of the enemy’s turn, then stacks decrease by 1 |
| Doom | Creates a kill threshold; enemy dies at end of their turn when HP meets or falls below Doom value |
The key distinction is timing. Poison deals damage equal to its current stack count at the start of every enemy turn, and those stacks then decrease by 1 after dealing damage each turn. Doom, however, only triggers at the end of the enemy’s turn once the threshold is met. This means a doomed enemy still gets to act before dying, which is the mechanic’s defining trade-off. You apply a death sentence, but the enemy serves its last action before the void claims them.
Doom also does not decay over time. Stacks persist on the enemy indefinitely until the kill condition is met or the fight ends.
What Makes Doom Unique
Beyond the timing difference, Doom has several properties that set it apart from other damage sources:
- Doom bypasses enemy Block. Block prevents normal attack damage, but Doom stacks are unaffected by an enemy’s Block value.
- Doom ignores damage reduction effects. Enemies with mechanics that cap incoming damage per turn are still vulnerable to Doom’s execution threshold.
- Doom stacks do not decay. Once applied, Doom stays on an enemy indefinitely until the condition triggers or the fight ends.
- Doom counts as a debuff. This means Necrobinder cards that interact with debuffs can trigger additional effects from Doom, and cards like Misery can spread Doom as a debuff to other enemies.
- Doom can target yourself. Cards like Borrowed Time and Neurosurge apply Doom to your own HP in exchange for bonus resources, creating a risky self-synergy option that rewards careful health management.
Key Doom Cards to Know
If you plan to build around Doom, here are the confirmed Doom-related cards from the Necrobinder’s pool:
| Card | Cost | Effect |
| Negative Pulse | 1 Energy | Gain 5 Block. Apply 7 Doom to ALL enemies. |
| Blight Strike | 1 Energy | Deal 8 damage. Apply Doom equal to damage dealt. |
| Scourge | 1 Energy | Apply 13 Doom and draw 1 card. |
| Doom Spike | 1 Energy | Deal damage and apply Doom simultaneously. |
| Deathbringer | 2 Energy | Apply 21 Doom and 1 Weak to ALL enemies. |
| No Escape | 1 Energy | Apply 10 Doom, plus 5 more for every 10 Doom already on the enemy. |
| Death’s Door | 1 Energy | Gain 6 Block. If you applied Doom this turn, gain Block 2 additional times (18 Block total). |
| Countdown | 1 Energy (Power) | At the start of your turn, apply 6 Doom to a random enemy. |
| Shroud | 1 Energy (Power) | Whenever you apply Doom, gain 2 Block. |
| Time’s Up | 2 Energy | Deal damage equal to the enemy’s Doom. Exhaust. |
| Oblivion | 0 Energy | Whenever you play a card this turn, apply 3 Doom to the enemy. |
| End of Days | 3 Energy | Apply 29 Doom to ALL enemies. Instantly kill any enemy whose Doom is at least equal to their current HP. |
| Reaper Form | 3 Energy (Power) | Whenever Attacks deal damage, they also apply that much Doom. |
| Borrowed Time | 0 Energy | Apply 3 Doom to yourself. Gain 3 Block. |
| Neurosurge | 0 Energy (Rare Power) | Gain 3 Energy and draw 2 cards. At the start of each turn, apply 3 Doom to yourself. |
No Escape stands out as the most powerful Doom accelerator. Against an enemy with 50 Doom already applied, it adds 35 more Doom for just 1 energy. The scaling becomes exponential as stacks build, making it essential for elite and boss encounters.
End of Days takes this further by applying 29 Doom to all enemies at once and immediately executing any enemy whose Doom value is at least equal to their current HP. Combined with earlier Doom setup, it can clear entire multi-enemy encounters in a single play.
Death’s Door is equally important for survivability. Because Doom triggers at the end of the enemy’s turn rather than before it, you need reliable block to survive the enemy’s final action. Death’s Door provides 18 total Block whenever you apply Doom in the same turn, letting you turtle safely while the threshold fills.

How Doom Compares to Poison
The most common comparison players make is between Doom and Poison. However, they function very differently:
- Poison deals damage equal to its current stack count at the start of the enemy’s turn every round, and then those stacks decrease by 1 after dealing damage. This means Poison gradually becomes less potent as the fight progresses, but it does chip away reliably each turn before the enemy acts.
- Doom does not deal damage per turn at all. Instead, it sets an execution threshold. An enemy with 40 Doom will only die when their HP reaches 40 or below, and even then, they act one final time before dying.
Doom compensates for this timing disadvantage by stacking much faster than Poison per energy spent. Cards like No Escape and Deathbringer apply Doom in quantities that would take significantly more turns to match with Poison. However, the requirement to block the enemy’s final turn means Doom builds need consistent defensive options alongside their kill conditions.
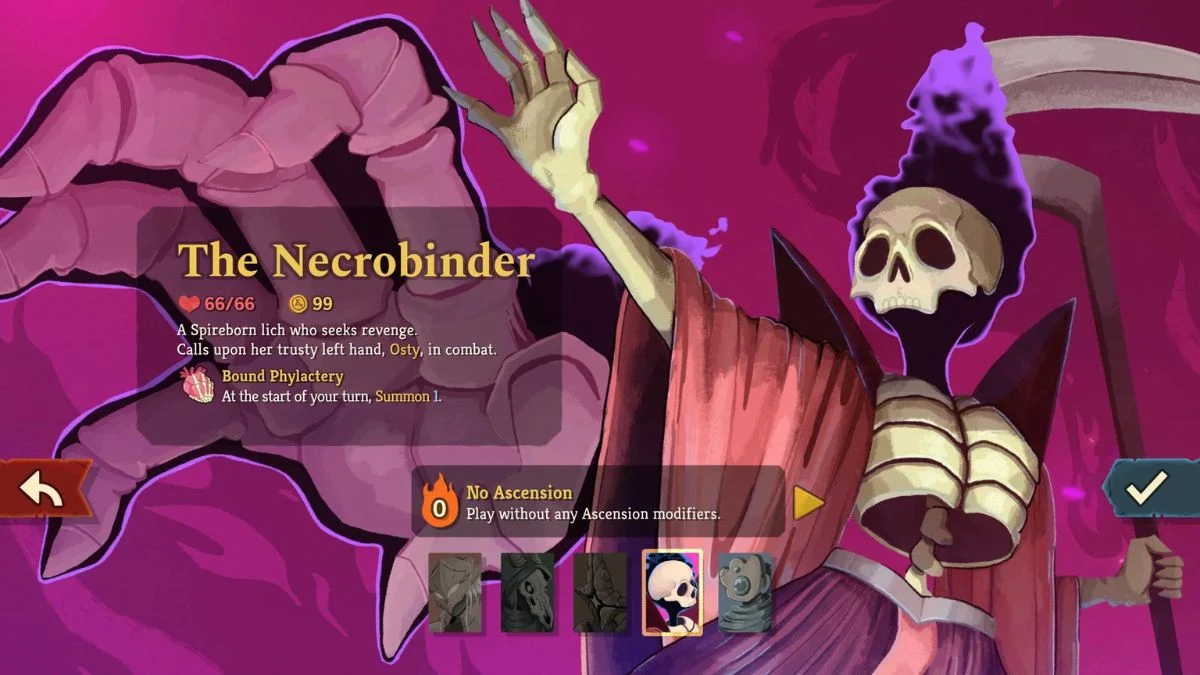
Understanding the Necrobinder’s Low HP
One detail that makes Doom builds more demanding than they first appear is the Necrobinder’s starting HP. She begins with just 66 HP, which is the lowest starting health pool among all playable characters in Slay the Spire 2. This means surviving the enemy’s final turn before Doom triggers is not just a minor inconvenience. It is a genuine threat that needs active planning every fight.
This is where Osty becomes essential. Osty is the Necrobinder’s reanimated skeletal hand companion who auto-summons at the start of every fight with 1 HP. He actively absorbs incoming hits directed at the Necrobinder through his “Die For You” ability, acting as a separate debuff target and damage sponge. If Osty dies, he re-summons at the start of your next turn, resetting to 1 HP. Using Summon cards and relics like the Bound Phylactery, which auto-summons 1 at the start of each turn, to boost Osty’s HP pool turns him into a reliable shield that covers the gaps between Doom applications and enemy death triggers.
When Doom Builds Work Best
Doom is not a mechanic you can force from the start of a run without the right foundation. Here is when it performs well and when it struggles:
Doom works well when:
- You have access to No Escape, Deathbringer, Scourge, or Countdown to stack Doom quickly
- Your deck includes reliable block sources, especially Death’s Door and Shroud
- You are facing enemies with Block or damage-reduction mechanics that neutralise normal attacks
- You can spread Doom across multiple enemies using AoE applications like Negative Pulse, Deathbringer, or End of Days
- You can use Misery to spread existing Doom stacks as a debuff to other enemies in the room
Doom struggles when:
- Enemies have resurrection mechanics, which explicitly block Doom’s execution trigger
- You cannot find the key scaling cards early enough to build critical mass
- You are low on block options and cannot survive the enemy’s final turn before Doom triggers
- You face enemies whose mechanics trigger upon taking damage from specific sources

Tips for Using Doom Effectively
- Apply Doom early in a fight so the threshold has time to build before the enemy becomes a serious threat.
- Pair Doom with Death’s Door to generate 18 total Block on the same turn you apply stacks, covering you against the enemy’s last action.
- Use No Escape repeatedly by cycling it back from your discard pile with Dredge or Grave Blast. The exponential scaling makes each subsequent cast dramatically stronger.
- Combine Doom with Weak. Applying Weak alongside Doom via cards like Deathbringer means enemies deal 25% less damage on their final turn, reducing your block requirement significantly.
- Keep Osty healthy. Use Summon cards and relics to boost Osty’s HP pool so he can absorb hits on the turns Doom has not yet triggered, protecting the Necrobinder’s fragile 66 HP.
- Treat Doom as unblockable damage. Because it bypasses Block and damage reduction, Doom is especially effective against enemies that actively defend themselves, where normal attacks lose efficiency.
- Be cautious with self-Doom cards. Both Borrowed Time and Neurosurge apply Doom to yourself in exchange for resources. These can enable powerful turns, but they actively raise your own kill threshold, which becomes dangerous when your HP is low.
- Save End of Days for multi-enemy rooms. Its ability to instantly execute any enemy already at or above their Doom threshold makes it a room-clearing finisher when combined with earlier Doom setup from Deathbringer or Negative Pulse.


Leave a Reply