
The Lonely Player Anomaly Commission is one of the longest and most layered quests in Neverness To Everness, set entirely within Clement Academy in Illusion Town. It chains together multiple puppet encounters, time-gated NPC interactions, a piano puzzle, a shell game, and a critical item called the Cheese Camera that you can only use once. Completing every step in the right order is the key to finishing it without getting stuck.
NTE Lonely Player Commission Overview
| Detail | Information |
| Commission Name | Lonely Player (Wandering Puppets) |
| Location | Clement Academy, Illusion Town |
| Commission Type | Common Anomaly Commission, Class I |
| Key Items Required | The Guide, Empathy Eye Drops, Cheese Camera, Peepy’s Sunglasses |
| Time Gates | Daytime (07:00–17:00), Night (20:00), Morning (07:00–09:00) |
| Anomaly Type | Object |

How To Access Lonely Player In NTE
You can find Clement Academy east of Wertheimer Tower in Illusion Town. However, the front gate is blocked and a guard will turn you away. To get inside, loop around the perimeter and jump over the fence at the back of the campus.
Set your in-game clock to 08:00 before arriving, as most NPC triggers only activate during daytime hours between 07:00 and 17:00. Start the commission by speaking to the Tense Student standing near the first cracked wall inside the school grounds.
Step 1: Find All Five Peepy Cracks
Peepy is a small creature that lives inside wall cracks around Clement Academy. You need to find and knock on all five cracks three times each throughout the commission. Each crack looks like a thin breathing opening in a wall. Completing these unlocks Peepy’s help during the Shell Game puppet later on.
| Crack | Location |
| Crack 1 | On the south side of the Academy near the Tense Student |
| Crack 2 | By the running track near two vending machines on the east side |
| Crack 3 | On the north side of the Academy near the track |
| Crack 4 | On the roof of the building behind where you found Crack 3, near the doors |
| Crack 5 | On the top floor of the northwest building, near where you found Crack 4 |
Knock on each crack three times until the dialogue confirms that Peepy has noticed you. You do not need to complete all five cracks at once. The guide below explains when to visit each one during the natural flow of the quest.
Step 2: Help The Irritated Student and Earn The Guide
Leave the first crack location and head toward the football field. You will find the Irritated Student standing next to a floating white orb called The Guide. Speak to her and agree to escort her to the Occult Club room.
Lead her into the school building, up the stairs, and to the Occult Club room on the first floor. Once she arrives safely, return to The Guide orb and select the Lost Student dialogue option. This hands you The Guide item, which helps locate nearby collectibles throughout the quest.
Step 3: Find The Lost Diary and Get Empathy Eye Drops
Near the courtyard, look for the Student Who Lost Their Diary standing next to a yellow vending machine. Talk to her and agree to help. She suggests using Empathy Eye Drops to see the diary’s location. Keep interacting with her until the vision reveals a park bench near some trees.
Head to that bench and collect the Lost Diary. Return it to the student and she will reward you with the Empathy Eye Drops, which you need for the Gym puppet section.

Step 4: Earn The Cheese Camera (Three Lessons)
The Cheese Camera is the most critical item in the Lonely Player commission. It stops time and reveals a hidden puppet. However, you only get one use, so do not fire it until the exact moment a puppet is on screen in front of you.
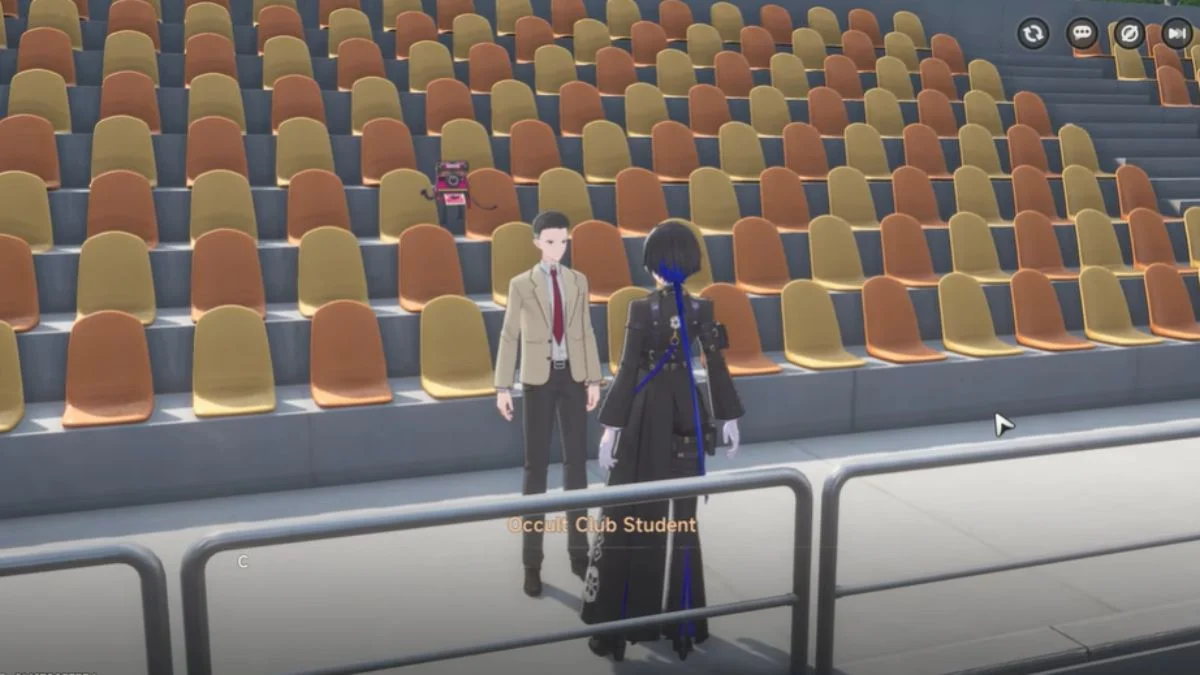
You earn the Cheese Camera by passing three lessons from the Occult Club Student, spread across different times of day.
Lesson 1 (Daytime, Occult Club Room): Talk to the Occult Club Student in the Occult Club room. He will ask about Cheese’s ability. The correct answer is “Time Stop.” After answering, he will tell you to meet him on the rooftop.
Lesson 2 (Night, School Rooftop): Set the in-game clock to 20:00 and meet the Occult Club Student on the rooftop above the building where you found the diary. He will ask how Cheese can help the user. The correct answer is “Control small Oddities.”
Lesson 3 (Morning, Basketball Court): Set the clock to 07:00 the next morning and meet the Occult Club Student at the basketball court. He will present a scenario about cheating in a game. The correct answer is “Don’t use it, work harder on our own.”
After answering correctly, he hands you the Cheese Camera. Equip it from your inventory but swap it out for another item like your vehicle key to avoid using it by accident before you need it.
Step 5: All Eight Wandering Puppet Locations and Solutions
The puppets only appear between 20:00 and 06:00. If a puppet game fails unexpectedly, check that the time has not passed 06:00.
Garden Puppet
Near the bench where you found the diary, a puppet appears by a tree and turns invisible when approached. You can catch it by standing still and letting it walk into you, watching for footprints on the ground, or listening for the footsteps getting louder. When you sense it nearby, press the Invite Puppet button.
Gym Puppet (Hide-and-Seek)
Enter the gym through the furthest door. Attack the invisible barrier blocking the entrance to reveal the first puppet. You need to find five puppets in total inside the gym:
- Puppet 1: By the net nearest the entrance
- Puppet 2: By the net on the far side of the stage
- Puppet 3: Up the ladder, overlooking the stage
- Puppet 4: On the stage itself
- Puppet 5: Use Empathy Eye Drops to reveal this final puppet, then interact with it to Invite Puppet
Running Track Puppet
A puppet stands at the track in a running position. The rule here is simple but easy to fail: do not take your eyes off the puppet at any point during the race. If you look away, even briefly, it teleports to the finish line and wins. Run backward while keeping your camera fixed on the puppet the entire time. Some puppets appear as obstacles mid-track, so navigate around them without breaking your line of sight.
Basketball Court Puppet
Located southwest of the running track starting point. This is one of the simpler encounters. Approach the basketball court, wait patiently for the puppet to position itself between the two courts, and then select Invite Puppet when the timing is right.

Hallway Puppet (Cheese Camera Required)
Return to the building entrance near the diary student’s location. Inside the hallway, a puppet stands in the distance but crumbles if you approach it directly. The hallway also produces strong wind that keeps knocking you back.
Stand near the staircase and use the Cheese Camera here to freeze the corridor and reveal the puppet. This is the one and only moment to use it, so make sure the puppet is visible before you press the trigger.
If you accidentally used the Cheese Camera early or it got deleted, you can still complete this section. Switch to Adler and stand in the middle of the corridor. Let the invisible puppet knock you around three times, and it will become visible on the ground in front of you.
Music Room Puppet (Piano Puzzle)
Go to the third floor (3F) of the same building and enter the music room next to the stairs. Walk in circles following the differently coloured section of the floor until the room changes and a puppet appears at the piano.
Once the puppet plays, you need to replicate three tunes on the piano using the first ten keys. The keys are numbered left to right from 1 to 10.
| Tune | Key Sequence |
| Tune 1 | 4 – 10 – 8 – 6 – 1 – 10 – 7 – 5 |
| Tune 2 | 1 – 5 – 10 – 9 – 10 – 5 – 10 – 5 – 1 – 5 – 10 – 9 – 10 – 5 – 10 – 5 |
| Tune 3 | 8 – 7 – 5 – 7 – 8 – 7 – 5 – 8 – 7 – 5 |
Press OK after completing each tune. A green smiley face confirms you got it right. If the replication fails and no confirmation appears, check that the in-game time has not passed 06:00, as the puppet’s wandering window ends at dawn. If it has, set the clock back to 20:00 and start from Tune 1 again.
Classroom Puppet (Room Switching)
Enter the building to the southeast of the music room building. Follow the puppet until it disappears, then enter the classroom at the end of the hallway and go through the back door. Each time you pass through the back door, the room changes and a small puppet appears in a new location.
- Room 1: Puppet sits on a desk at the back
- Room 2: Puppet is on a nearby shelf
- Room 3: Puppet is inside a locker
- Room 4: Puppet is behind a vase. Attack the vase to break it and claim the puppet
After collecting all four small puppets, pass through the back door one final time and interact with the large puppet in the storage room to Invite Puppet.
Cooking Class Puppet (Shell Game)
Go to the northwest building, third floor. You will find the cooking class room and a puppet ready to play a shell game. The puppet hides a ball under one of several cups and moves them around.
For the first two rounds, you can track the cups yourself. However, on the third round the puppet scatters cups all across the room, making it impossible to track manually. This is where Peepy becomes essential. Interact with the crack in the nearby wall and knock three times to summon Peepy. It will point directly to the correct cup every time, including the final impossible round.
Step 6: Return To The Auditorium To Complete The Mission
Once you have invited all eight Wandering Puppets, head to the Auditorium. Approach the puppet on the stage and wait for it to stop moving on one of the audience chairs. When it settles, approach it and interact with it to trigger the final cutscene and complete the Lonely Player Anomaly Commission.

Lonely Player Rewards
| Reward | Amount |
| Hunter Level EXP | 450 |
| Annulith | 60 |
| Fons | 20,000 |
| U-00NE | 40 |
| Beetle Coin | 10,000 |
| Anomaly Material Selection Box I | 6 |
Common Problems and Fixes
| Issue | Solution |
| Piano puzzle not registering | Check the time is between 20:00 and 06:00. Reset to 20:00 and retry from Tune 1 |
| Cheese Camera used or deleted early | Use Adler in the hallway and let the puppet knock you three times to reveal it |
| Auditorium puppet not interactable | You are likely missing one invited puppet. Return to each location and confirm all eight are done |
| Puppet not appearing at a location | The in-game time is outside the 20:00–06:00 window. Adjust the clock and return |
| Gym final puppet not spawning | Use Empathy Eye Drops and approach from the correct angle. If still missing, restart from the gym entrance |


Leave a Reply