
Hytale’s world invites curiosity but tests your patience. Orbis stretches wide, folds inward through caves, and scatters points of interest far apart. Walking everywhere teaches you the land, but eventually distance turns into friction. Teleporters solve that problem without cheapening exploration. They reward preparation, progression, and intention.
Building a teleporter in Hytale sits firmly in the midgame. You earn it by understanding crafting depth rather than rushing a shortcut. Once unlocked, it completely changes how you move through the world.

What is the Use of Teleporters in Hytale
A teleporter gives you control over space. You decide which places deserve permanence and which routes deserve speed. Bases, mining outposts, biome borders, and safe zones all benefit from instant travel. Teleporters also reduce risk. Nightfall, hostile caves, and long return trips lose their threat once you can step through a portal.

Teleporters do not replace exploration. They preserve it by cutting out repetition.
Step One: Upgrade Your Workbench
Every advanced structure in Hytale grows out of the humble workbench. Before teleporters enter the picture, you must upgrade your standard workbench to Tier 2.
To upgrade a workbench, gather:
- 30 Copper Ingots
- 20 Iron Ingots
- 20 Linen Scraps
Copper and iron come from early mining routes, while linen scraps drop from humanoid enemies. Once you collect the materials, open the workbench menu and choose the upgrade option. Each upgrade applies to one workbench, so plan where you build it.
This upgrade unlocks the path forward but does not yet grant access to teleporters.
Step Two: Craft the Arcanist’s Workbench
Teleporters belong to Hytale’s magical crafting tier. You create them at the Arcanist’s Workbench, a specialized station that handles arcane and portal-based recipes.
To craft the Arcanist’s Workbench, you need:
- 10 Thorium Ingots
- 30 Linen Scraps
- 20 Essence of the Void
Thorium appears in tougher regions and deeper terrain, signaling your move into midgame exploration. Essence of the Void drops from specific creatures, often encountered at night. Once crafted, place the Arcanist’s Workbench and interact with it to unlock new crafting categories.
This station permanently unlocks the teleporter recipe.
Step Three: Gather Teleporter Materials
Teleporters rely on materials tied to Azure biomes, reinforcing their role as a midgame tool rather than an early convenience.
To build teleporters, gather:
- 8 Azure Logs
- 2 Azure Kelp
- 10 Stone of any type
Azure Logs come from blue-hued forests, while Azure Kelp grows in nearby water sources. Stone remains flexible, allowing you to use whatever variant you have on hand.
Each crafting action produces two teleporters. Hytale treats portals as pairs by design.
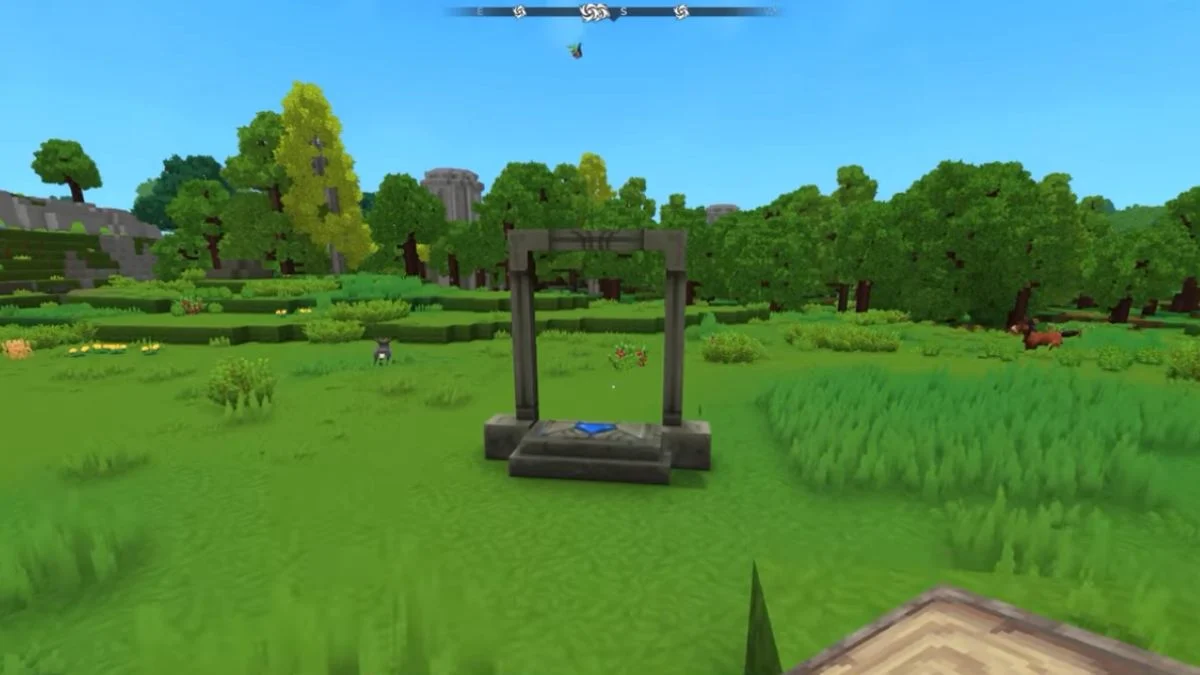
Step Four: Place and Configure Your Teleporters
When you place a teleporter, it remains inactive until you configure it. Interact with the structure to open its settings menu. Here, you define two things: its name and its destination.
Naming is important as your network grows; clear names prevent confusion. Use locations or purposes rather than vague labels.

The destination menu lets you choose any other placed teleporter. If you select no destination, the teleporter stays inactive but remains available as a target for other portals.

To travel, simply step onto the teleporter. It activates instantly and sends you to the chosen destination.

Expanding Your Teleporter Network
Hytale limits how many teleporters you can place at once. You increase this limit by unlocking Memories and turning them in at the Forgotten Temple. Each milestone raises your cap, allowing larger and more intricate networks.
This system ties fast travel to exploration and discovery rather than raw crafting. The more of the world you experience, the more freedom you gain to move through it.


Leave a Reply