

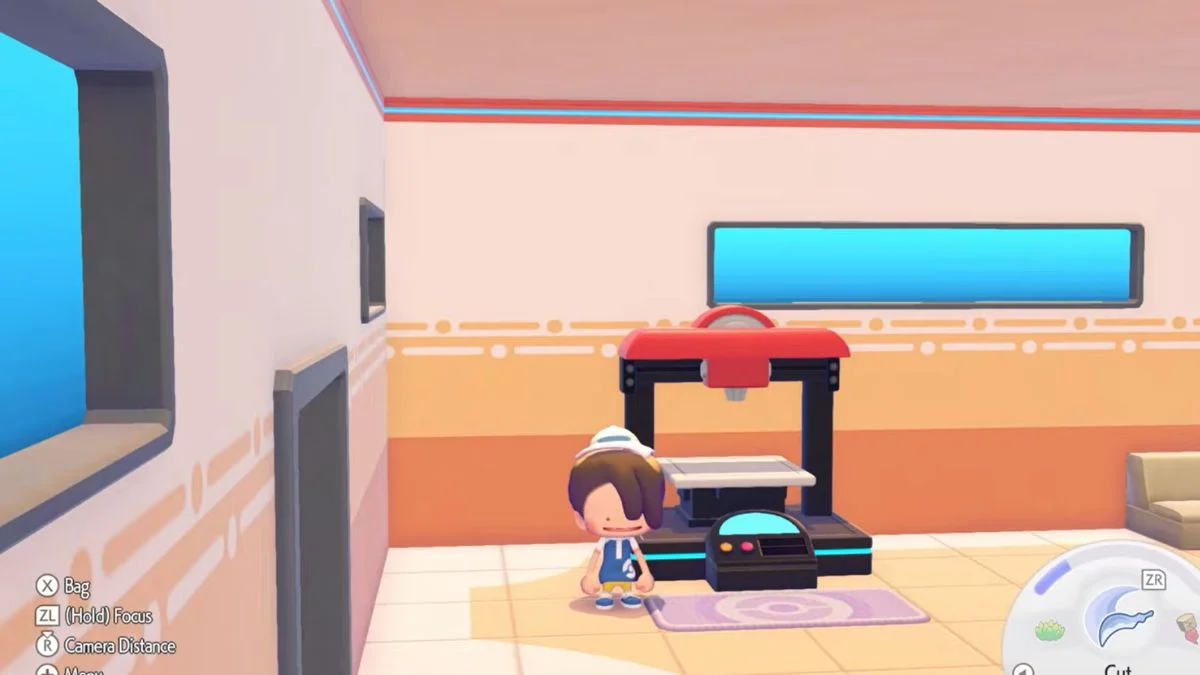
The 3D Printer in Pokémon Pokopia is one of the most useful tools in the entire game, letting you duplicate furniture, decorations, and rare items without needing a crafting recipe. Here is everything you need to know about unlocking it, taking reference photos, and getting the most out of every print.
How to Unlock the 3D Printer in Pokémon Pokopia
The 3D Printer unlocks automatically once you rebuild any Pokémon Center in the game. The first one most players complete is the Withered Wasteland Pokémon Center, which you unlock by progressing through the Yawn Up A Storm Important Request and helping Onix. After that, the printer is available inside every Pokémon Center you rebuild going forward, sitting on the left side of the building. There is no daily limit on how many times you can use it.

How to Use the 3D Printer: Step by Step
Step 1 — Take a Reference Photo
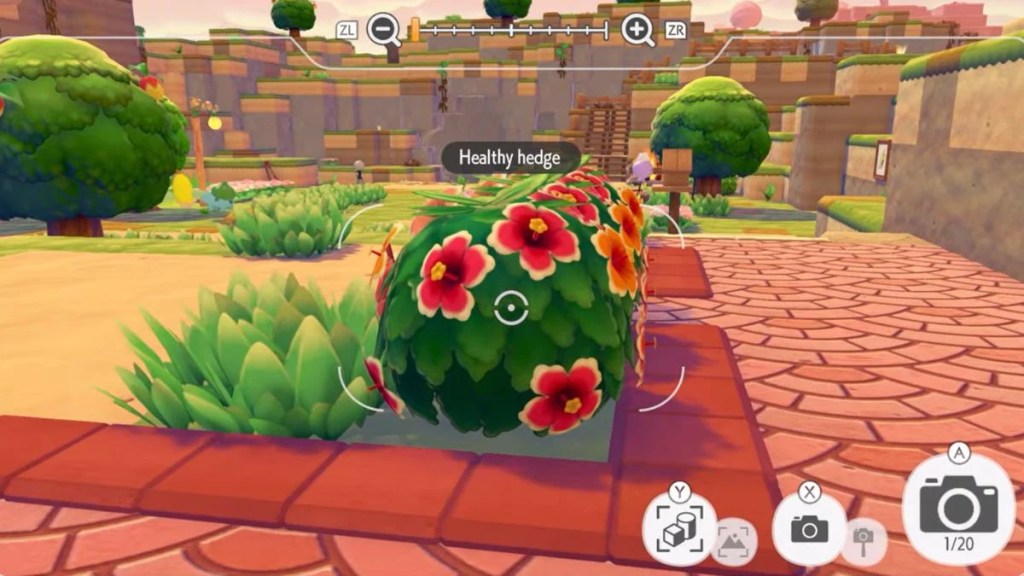
Before you can print anything, you need a reference photo of the item you want to duplicate. Here is how to take one:
- Press the Minus (–) button to open your in-game Camera
- Press Y to switch into Reference Photo Mode
- Approach the item you want to copy. The camera will label furniture and decorations with their exact names as you get close, so you always know what you are photographing
- Take the photo to add it to your Reference Photo folder
Your Reference Photo folder holds a maximum of 20 photos at a time. Additionally, it is worth clearing out old photos after printing to keep space free for future items.
Step 2 — Gather Pokémetal
3D Printing costs Pokémetal or Rare Pokémetal depending on what you are printing. Here is a quick breakdown of costs:

| Item Type | Cost |
| Small or basic furniture (minimum) | 2 Pokémetal |
| Larger or more complex items | More Pokémetal (varies) |
| Rarer items (e.g. Smooth Rock, Horsea Fountain) | Rare Pokémetal required |
| Most expensive items found so far | 5 Rare Pokémetal |
Because Pokémetal can be scarce in the early game, the 3D Printer is best treated as a mid-to-late game tool. You can use it early in a pinch, but saving your Pokémetal for key objectives and Requests first is the smarter approach. However, once you reach the later stages of the game, Pokémetal becomes much more accessible and you can print more freely.

Step 3 — Use the Printer
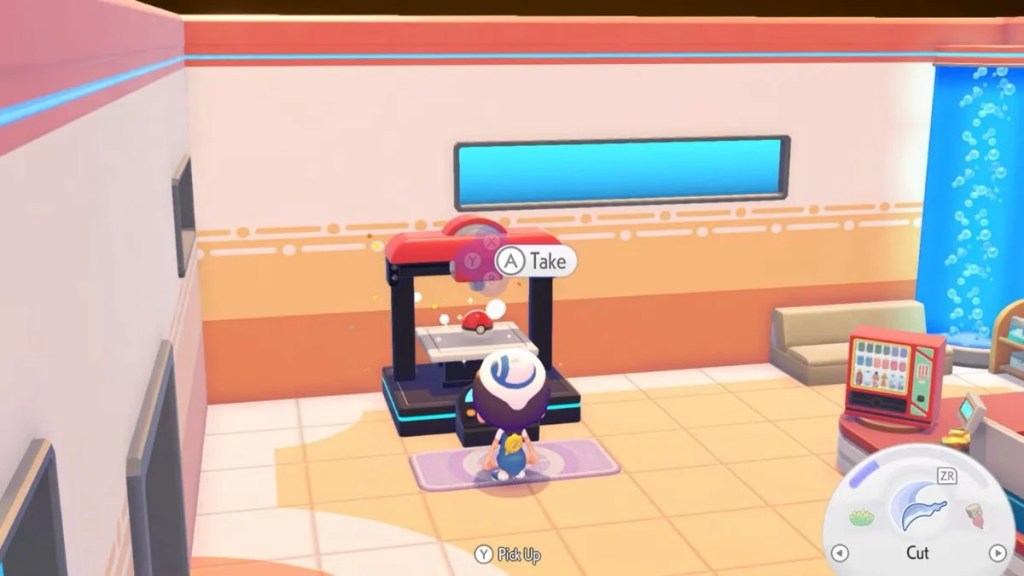
Once you have your reference photos and Pokémetal ready:
- Head to any Pokémon Center and interact with the 3D Printer on the left side
- Select the reference photo of the item you want to copy
- Choose how many copies you want to print
- Pay the required amount of Pokémetal or Rare Pokémetal
- Receive your items immediately with no crafting wait time
Advanced Camera Tips for Better Printing
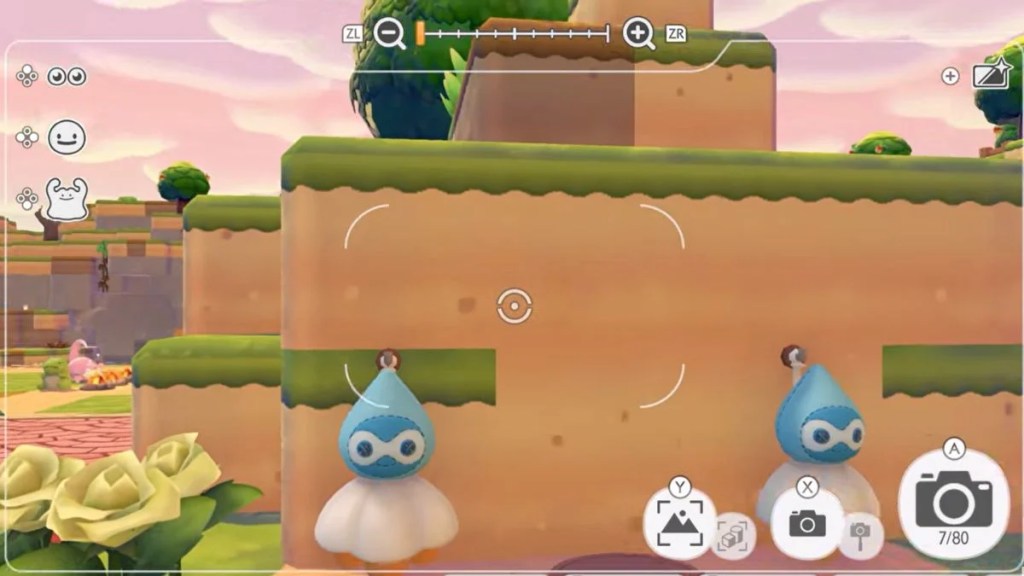
The reference photo system has a few extra tricks worth knowing:
- Tripod Mode: Purchase a tripod from the PC Shop and access it by pressing Y twice while using the Camera. This locks the camera in place, which helps when photographing items at awkward angles or from a distance
- Security Cameras: You can use security cameras for remote scouting of items before travelling to collect them
- Visit Friends’ Islands: Reference photos are not limited to your own world. You can visit a friend’s island in co-op multiplayer and photograph items you have not yet found in your own game
- Visit Cloud Islands: Dream Islands and the Developer’s Cloud Island (accessed via the Mysterious Goggles later in the game) also contain items you can photograph and print back home, including rare furniture like Berry Trees and unique decorations not yet in your possession
Best Items to Duplicate
Not every item is worth spending Pokémetal on, especially early on. However, these categories offer the best return on your investment:
| Item | Why It Is Worth Printing | Cost Note |
| Gravestone | Unlocks rare dark habitats quickly | Medium cost in regular Pokémetal |
| Unique patterned furniture (closets, shelves) | Lets you get stylish pieces without hunting resources | Varies, low for smaller pieces |
| Berry Trees | Sets up instant farming layouts, especially from Dream Islands | Low cost, great to print in multiples |
| Horsea Fountain | Boosts water habitats and Comfort Levels | May require Rare Pokémetal |
| Fossils and Relics | Fills out collections and enables special builds | Higher cost, worth it in late game |
| Smooth Rock | Needed for Onix’s Smooth Tall Grass Habitat if lost | Exactly 2x Rare Pokémetal per copy |
| Habitat furniture | Any uncommon item needed for a rare habitat | Varies |
The best strategy is to print multiples in one session when you know you need several copies of the same item for a large habitat. Additionally, always smelt your Pokémetal Fragments into Ingots before heading to the Pokémon Center, since loose Fragments cannot go directly into the printer.

Smart Printing Tips
- Clear your Reference Photo folder regularly after printing so you always have space for new items
- Test with cheaper items first to get comfortable with the printer before committing Rare Pokémetal to expensive prints
- Save Rare Pokémetal for items that specifically require it. Many items only need standard Pokémetal, so do not spend the rare version unless necessary
- Visit Dream Islands and friends’ islands often to stock up on reference photos of items you have not yet unlocked in your own world
The 3D Printer is one of the most powerful tools in Pokémon Pokopia once you know how to use it properly. With a good supply of Pokémetal and a well-managed reference photo folder, you can fill out habitats, raise Comfort Levels, and build your ideal world far faster than grinding for every recipe individually.


Leave a Reply