
Upgrading your Explosives Station in Arc Raiders eventually leads you to a familiar roadblock: gathering three Laboratory Reagents. These bottled supplies sit squarely in the Medical loot category, yet they appear just scarce enough to make their hunt feel like a scavenger’s pilgrimage. Knowing exactly where Medical loot is densest is the key, especially when other Raiders have their eyes on the same shelves.
Below is a clear guide to the most reliable locations and the practical reasoning behind them, so your farming runs feel purposeful rather than lucky.
Understanding Laboratory Reagents
Laboratory Reagents are Medical-class materials required for advancing the Explosives Station to Level 3. Because they share their category with items like Antiseptic and cracked bioscanners, they spawn in places where medical storage is expected. That means clinics, hospitals, pharmacies, and any building marked with the Medical plus icon on your map.
These zones often hide loot in drawers and containers, but loose bottles sitting openly on tables or counters are just as important to check. Many players overlook these exposed items, which increases your chances of finding them in partially looted areas.

Top Farming Locations for Laboratory Reagents

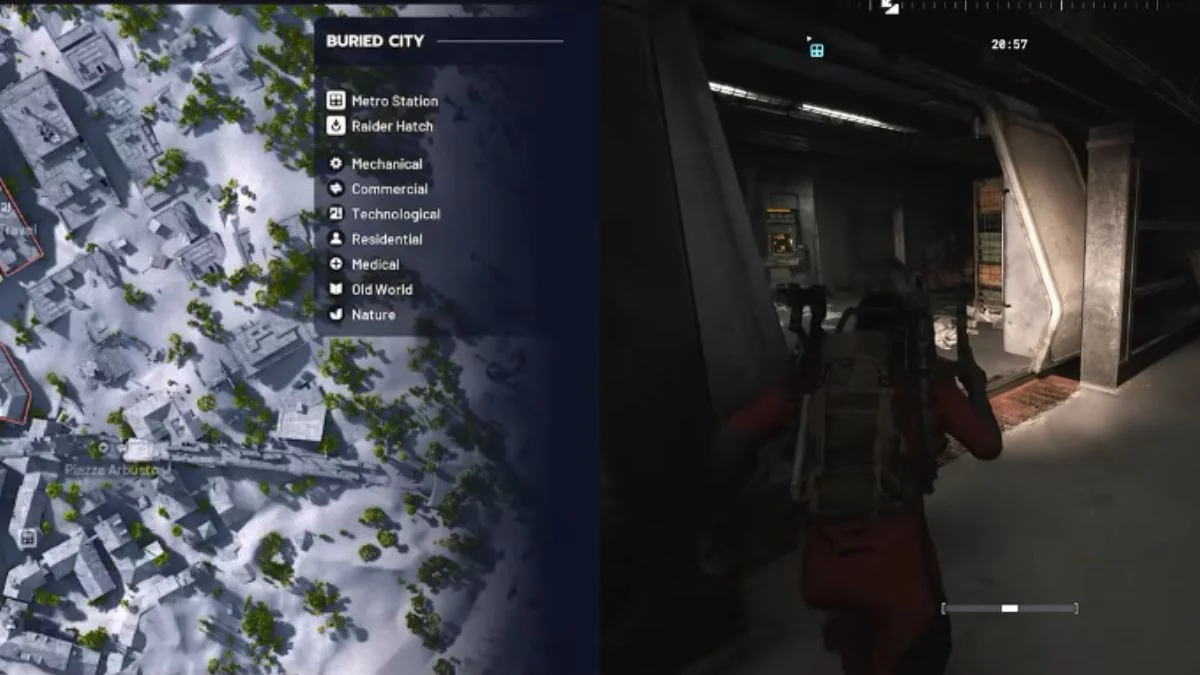
1. Hospital in Buried City
The Hospital remains the strongest farming location because it is the only fully Medical-focused point of interest in the game’s current rotation. There are no competing loot pools here, so every medical crate, cabinet, and countertop leans toward spawning what you need.

The catch is its popularity. Raiders gravitate here for the same reason you are, creating unpredictable foot traffic. Solo players typically fare better thanks to the community’s cautious nature, while trios often turn the halls into contested territory.
The lift and tunnel access nearby make quick escapes easy, so always keep your route out in mind before committing to a full sweep.
2. Research Building in Buried City
Just steps away from the Hospital is the Research facility, a more relaxed site with multiple floors and light ARC presence. The variety of searchable surfaces makes it a steady backup option when the Hospital is looted or overcrowded. While it lacks the pure Medical classification, the volume of searchable furniture gives you enough chances to pull at least one Reagent per run.

3. Plaza Rosa Pharmacy (Buried City)
The Pharmacy inside Plaza Rosa may not look impressive from the outside, but it is one of the most consistent solo-friendly farms. The outward breach point is a blessing: if the door is open, you instantly know someone has already been inside. If it’s closed, the shelves are probably untouched.
Search both floors thoroughly, then take advantage of the extraction zipline just outside, letting you bank loot safely and perform quick cycles without risking a weapon-heavy build.
4. Testing Annex in Dam Battlegrounds
This Annex might not rival the Hospital’s scale, but the second floor alone is packed with storage furniture. Medical-oriented loot frequently appears here, and the area tends to see less traffic. For players who want a calmer environment, this is a rewarding compromise.
The Testing Annex is also rich in auxiliary Medical items, so expect to leave with Antiseptic, Rusted Shut Medical Kits, and other upgrade materials alongside your Reagents.
5. Stella Montis Medical Research Zone
A dangerous region but a dense one. If you’re confident in navigating ARC patrols, the Medical Research area offers shelves, racks, and lab counters packed with spawn points. This is not the best option for newer Raiders, but seasoned players can turn it into an efficient high-risk run.
More Trending Guides:


Leave a Reply