
The Sword of the Cursed puzzle in Crimson Desert is one of the most rewarding environmental puzzles in the Hernand region, and it has genuinely stumped a lot of players. The memory fragment teases a weapon, the cave hides a locked door, and three rotating dials sit in a pit with no obvious instructions. This guide covers how to find the puzzle, how to solve it quickly, and what you actually get for your trouble.
What Is the Sword of the Cursed?

Sword of the Cursed is a Knowledge entry you collect by examining the entrance of the Dragon’s Stone Chamber using your Visione. Despite what the name implies, it does not lead to an actual sword. It is in-game lore about the area. The real reward comes from solving the puzzle inside the chamber itself.


Dragon’s Stone Chamber: Location and How to Get Inside
The Dragon’s Stone Chamber sits approximately 700 metres south-southeast of Hernand Town, underneath the Thinker’s Meadow area near Howling Hill. The easiest approach is to unlock the Howling Hill camp first and then take the road southeast until you reach a large hole in the ground. Look for the large white question mark on your map indicating mysterious energy.

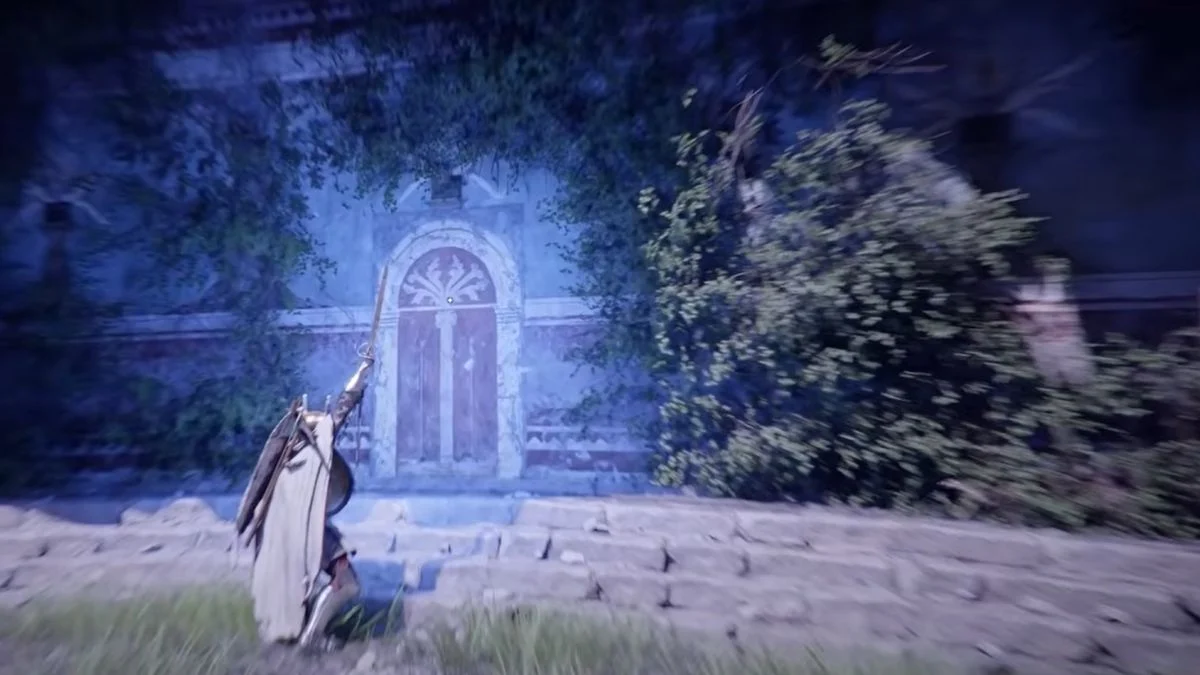
Once you find the crater, jump down into it. On the northern rock face inside, you will find a mural painted on the wall. Equip and hold Visione to view the stored memory called Sword of the Cursed. After viewing it, walk directly into the tree image on the mural and push against it. The door will open and grant you access to the puzzle room inside.
Note that if you accidentally push the door back after entering, you can trap yourself inside the cave. If that happens, use a teleport or find a ledge along the wall to climb your way out.
The Quick Solution: Skip the Murals and Solve It Directly
If you do not want to track down the three external murals and just want to solve the puzzle immediately, here are the exact positions for each dial:
| Dial | Correct Position |
| Sun and Moon Dial | Rotate until the Sun and Moon symbols sit at the top (north position) |
| Scorpion Dial | Rotate until the scorpion’s claws face northwest |
| Black Spirals Dial | Rotate until the larger spiral sits in the top right quadrant |
Once all three dials align correctly, a secret door at the far side of the chamber will open underneath the large dragon statue. The puzzle completion triggers automatically when all three sit in the right position. It takes a small amount of fine-tuning to get each one exactly right, but the door opening confirms you have it. The dials require extreme precision. Wiggle them slightly and listen for the click sound when they move into position. The secret door will open with a visible camera pan and sound cue once all three are correct.
The Full Solution: How to Find the Three Murals
The chamber’s walls contain two large maps marked with three V symbols that point to three mural locations on the cliffs around Anvil Hill. You do not need the murals to solve the puzzle, but they show you what each dial should look like when correctly positioned. These two large bird’s-eye view maps with three red V or checkmark symbols are the game’s intended clue system for locating the external murals.
Start your search at a point east of Anvil Hill, approximately 350 metres northwest of the Halssius House of Healing. The nearest fast travel point is the Subtle Gap Abyssal Cresset at the Wild Raiders camp. Follow the cliffside leading up onto Anvil Hill and you will find all three murals along the rock faces.

Mural 1: Sun and Moon
Located near the northern rivulet along the cliffside, due south of the Wild Raiders camp. The mural shows a sun and moon connected to a spiral, confirming that the Sun and Moon dial should face upward.
Mural 2: Black Spirals
Found just to the northeast of the Fort Anvil Gate Hearth, slightly further along the same cliffside as Mural 1. The mural shows two black spirals, with the larger one in the upper right quadrant and the smaller one in the bottom left. This is the correct position for the Spirals dial.
Mural 3: Scorpion
Located approximately 400 metres southwest along the same cliffside, and due south of Fort Anvil. The mural depicts a coiled scorpion with its claws facing to the left, which corresponds to the northwest position on the dial.
Step-by-Step Puzzle Solution
| Step | Action |
| Step 1 | Travel to the crater south-southeast of Hernand Town and jump down |
| Step 2 | Use your Visione on the mural to view the Sword of the Cursed memory |
| Step 3 | Push into the tree image on the mural to open the hidden door |
| Step 4 | Enter the Dragon’s Stone Chamber and descend into the central pit |
| Step 5 | Rotate the Sun and Moon Dial until Sun and Moon sit at the top |
| Step 6 | Rotate the Scorpion Dial until the claws face northwest |
| Step 7 | Rotate the Black Spirals Dial until the larger spiral sits in the top right quadrant |
| Step 8 | Wait for the secret door to open automatically at the far end of the chamber |
| Step 9 | Approach the Abyss Cresset inside and collect your rewards |

What Do You Get for Solving the Dragon’s Stone Chamber Puzzle?
The rewards for completing the Dragon’s Stone Chamber puzzle are more useful than the name suggests:
| Reward | Details |
| Abyss Artifact | Collected from the Abyss Cresset inside the secret chamber |
| Memories of Abundance | A Key Item that reveals hidden place locations around Hernand |
| Abyss Cresset | Adds a new fast travel point inside the chamber |
The Memories of Abundance is the standout reward. When you use it, it immediately reveals the Azure Moon Labyrinth and 7 other hidden points of interest in the Hernand region on your map, including hidden caves, grottos, and treasure locations that would otherwise take considerable time to find on your own. Additionally, at the bottom of the ravine near the chamber entrance, there is a Diamond Mine location worth noting for future resource farming. The Abyss Artifact can be used to upgrade or level up your skills and gear.
The Sword of the Cursed puzzle is one of the more memorable environmental puzzles in Crimson Desert, and the payoff through the Memories of Abundance makes it genuinely worth solving as early as possible in your time with the Hernand region.


Leave a Reply